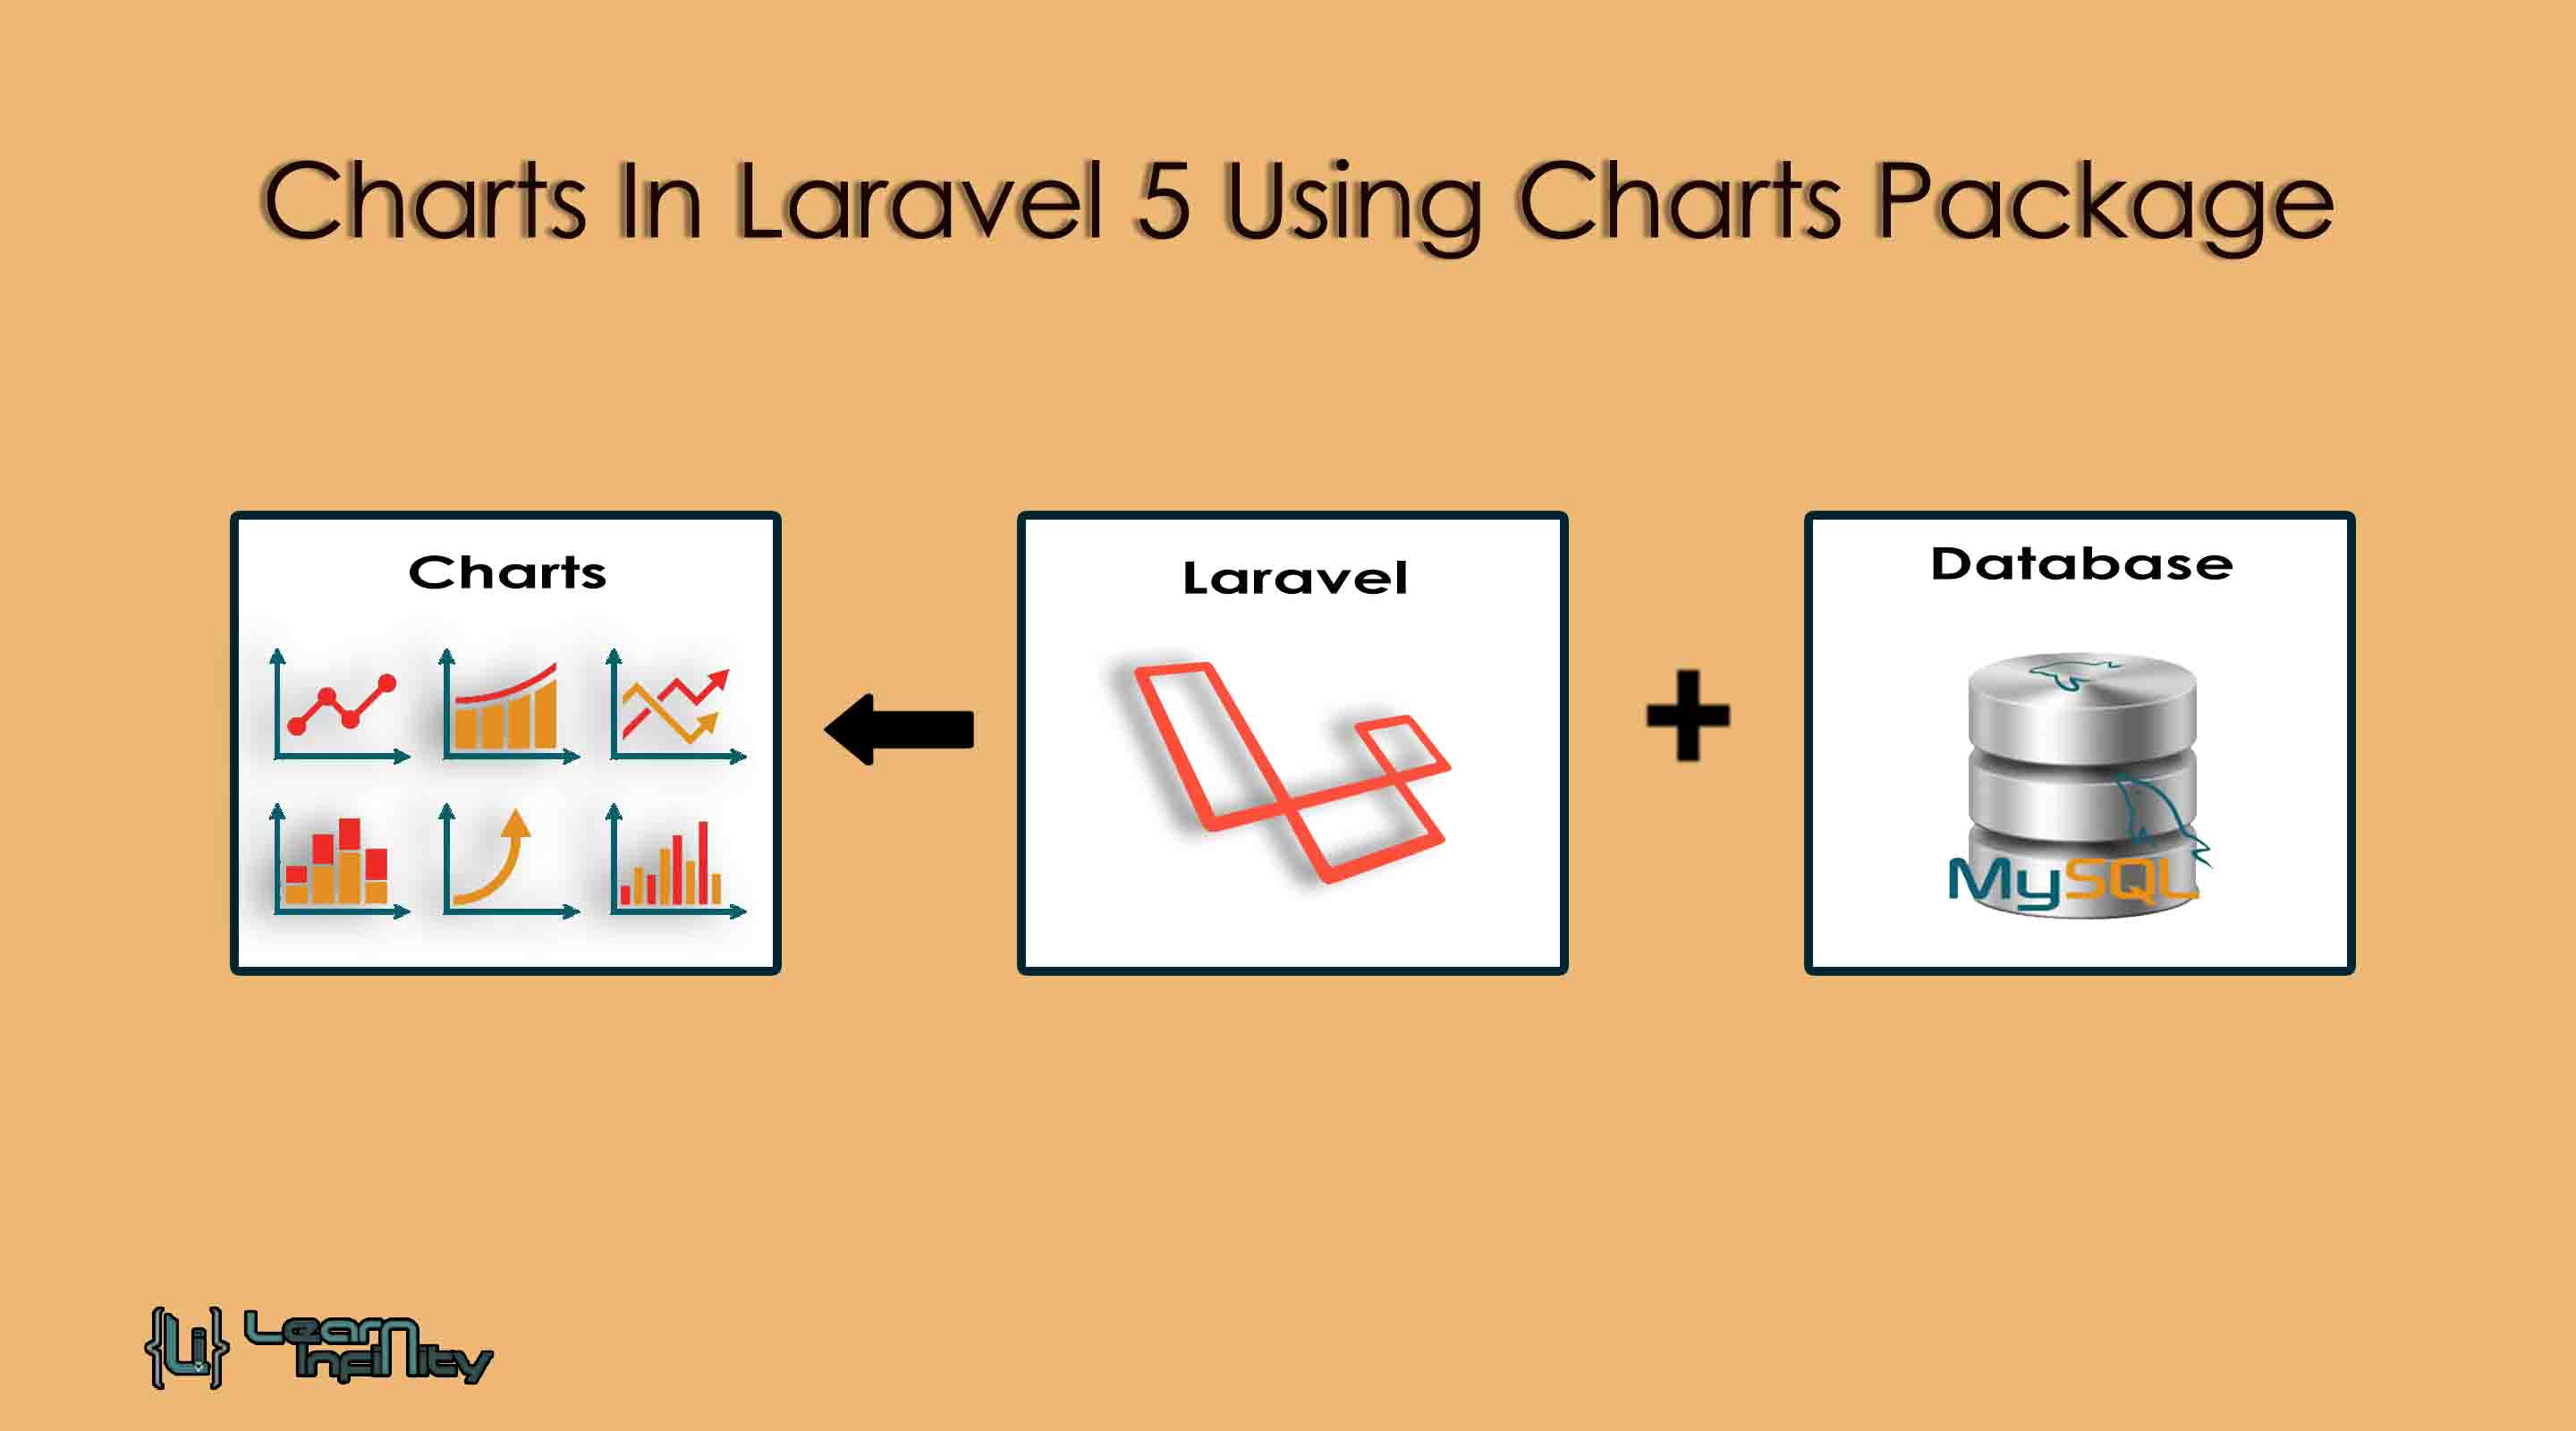

In this post, we will know how to display user data into graphical or Charts In Laravel 5 Using Charts Package.
It helps us with our blog and application data analyzing and current system status. Most of the application need this kind of graphical or chart data representation to the user to know about the system present status. Some beautiful charts help us to client attraction and impress with our web applications.
Here, we are going to explain the method of getting information or data from a MySQL database through Laravel using Chart Package. After fetching the data we need to provide interactive and classy charts using fetched data. For generating chart element, we can use Laravel Charts Package as it offers a good and various collection of charts and maps. This package contains fit with every browser and it’s very user-friendly too.
Step 1: Install Laravel
Here, we need new Laravel application for API passport implementation and demonstration. the following command helps to create a new application.
|
1 |
composer create-project --prefer-dist laravel/laravel myLaravel |
Step 2: Install Composer Package
In this step, we need to download and install Laravel Chart Package for generating Beautiful Charts. So just run following command to download and install package.
|
1 |
composer require consoletvs/charts |
Step 3: Application configuration
After successfully installed the package then we should update the application config details to use the package in our application. Here we need to update providers & aliases array details with following details,
|
1 2 3 4 5 6 7 8 9 10 11 |
'providers' => [ .... .... ConsoleTVs\Charts\ChartsServiceProvider::class, ], 'aliases' => [ .... .... 'Charts' => ConsoleTVs\Charts\Facades\Charts::class, ], |
Step 4: Create Model, Controller, and Migration
Here, we want to create a migration for products table using Laravel 5.5 php artisan command, so first fire bellow command:
|
1 2 3 4 5 |
php artisan make:model Product -mc and php artisan make:controller ChartController |
Above command, help us to create Model, Controller, and Migration for Product master. In migration table file, we need to add the required no of columns details for product table like name, description, and price etc.
|
1 2 3 4 5 6 7 8 9 10 11 12 13 14 15 16 17 18 19 20 21 22 23 24 25 26 27 28 29 30 31 32 33 34 |
<?php use Illuminate\Support\Facades\Schema; use Illuminate\Database\Schema\Blueprint; use Illuminate\Database\Migrations\Migration; class CreateProductsTable extends Migration { /** * Run the migrations. * * @return void */ public function up() { Schema::create('products', function (Blueprint $table) { $table->increments('id'); $table->string('name'); $table->text('description'); $table->float('price'); $table->timestamps(); }); } /** * Reverse the migrations. * * @return void */ public function down() { Schema::dropIfExists('products'); } } |
Then we need to go and update the Product model file in our application like fillable, primary key, product, etc. Product model files present at app/Product.php path and just update with following details in it.
Step 5: Routes Definition
In the fifth step, we want to add new routes for displaying Charts to end user with Product Data sets. so just goto routes/web.php file and update the following routes to access import and export operation in our application.
|
1 |
Route::get('charts', 'ChartController@index')->name('chart.index'); |
Step 6: Create Controller with Methods
On this step, we want to make a new controller for getting Charts data with relevant key values in laravel application. After creating a controller file we need to define a method and handling function in it.
ProductContoller.php
|
1 2 3 4 5 6 7 8 9 10 11 12 13 14 15 16 17 18 19 20 21 22 23 24 25 26 27 28 29 30 31 32 33 34 35 36 37 38 39 40 41 42 43 44 45 46 47 48 49 50 51 52 53 54 55 56 57 58 59 |
<?php namespace App\Http\Controllers; use Illuminate\Http\Request; use Illuminate\Support\Facades\Redirect; use App\Product; use Excel; use Datatables; class ProductController extends Controller { public function list(){ $products = Product::get(); return view('products', compact('products')); } public function productsImport(Request $request){ if($request->hasFile('products')){ $path = $request->file('products')->getRealPath(); $data = \Excel::load($path)->get(); if($data->count()){ foreach ($data as $key => $value) { //print_r($value); $product_list[] = ['name' => $value->name, 'description' => $value->description, 'price' => $value->price]; } if(!empty($product_list)){ Product::insert($product_list); \Session::flash('success','File improted successfully.'); } } }else{ \Session::flash('warnning','There is no file to import'); } return Redirect::back(); } public function productsExport($type){ $products = Product::select('name','description','price')->get()->toArray(); return \Excel::create('Products', function($excel) use ($products) { $excel->sheet('Product Details', function($sheet) use ($products) { $sheet->fromArray($products); }); })->download($type); } public function datatable(){ return view('products-datatable'); } public function productsList(){ return Datatables::of(Product::query())->make(true); } } |
and ChartContoller.php
|
1 2 3 4 5 6 7 8 9 10 11 12 13 14 15 16 17 18 19 20 21 22 23 24 25 26 27 28 29 30 31 32 33 34 35 36 37 38 39 40 41 42 43 44 45 46 47 48 49 50 51 52 53 54 55 56 57 58 59 60 61 62 63 64 65 66 67 68 69 70 71 72 73 74 75 76 77 78 79 80 81 82 |
<?php namespace App\Http\Controllers; use Illuminate\Http\Request; use App\Product; use Charts; use DB; class ChartController extends Controller { public function index() { $products = Product::where(DB::raw("(DATE_FORMAT(created_at,'%Y'))"),date('Y'))->get(); $chart = Charts::database($products, 'bar', 'highcharts') ->title("Product Details") ->elementLabel("Total Products") ->dimensions(1000, 500) ->responsive(true) ->groupByMonth(date('Y'), true); $pie_chart = Charts::create('pie', 'highcharts') ->title('Pie Chart Demo') ->labels(['Product 1', 'Product 2', 'Product 3']) ->values([15,25,50]) ->dimensions(1000,500) ->responsive(true); $line_chart = Charts::create('line', 'highcharts') ->title('Line Chart Demo') ->elementLabel('Chart Labels') ->labels(['Product 1', 'Product 2', 'Product 3', 'Product 4', 'Product 5', 'Product 6']) ->values([15,25,50, 5,10,20]) ->dimensions(1000,500) ->responsive(true); $areaspline_chart = Charts::multi('areaspline', 'highcharts') ->title('Areaspline Chart Demo') ->colors(['#ff0000', '#ffffff']) ->labels(['Jan', 'Feb', 'Mar', 'Apl', 'May','Jun']) ->dataset('Product 1', [10, 15, 20, 25, 30, 35]) ->dataset('Product 2', [14, 19, 26, 32, 40, 50]); $percentage_chart = Charts::create('percentage', 'justgage') ->title('Percentage Chart Demo') ->elementLabel('Chart Labels') ->values([65,0,100]) ->responsive(true) ->height(300) ->width(0); $geo_chart = Charts::create('geo', 'highcharts') ->title('GEO Chart Demo') ->elementLabel('Chart Labels') ->labels(['US', 'UK', 'IND']) ->colors(['#C5CAE9', '#283593']) ->values([25,55,70,90]) ->dimensions(1000,500) ->responsive(true); $area_chart = Charts::create('area', 'highcharts') ->title('Area Chart') ->elementLabel('Chart Labels') ->labels(['First', 'Second', 'Third']) ->values([28,52,64,86,99]) ->dimensions(1000,500) ->responsive(true); $donut_chart = Charts::create('donut', 'highcharts') ->title('Donut Chart') ->labels(['Product 1', 'Product 2', 'Product 3', 'Product 4', 'Product 5', 'Product 6']) ->values([25,50,70,860]) ->dimensions(1000,500) ->responsive(true); return view('charts',compact('chart' , 'pie_chart', 'line_chart', 'areaspline_chart', 'percentage_chart', 'geo_chart', 'area_chart', 'donut_chart')); } } |
Step 7: Blade File Defining
In the final step, we make a one blade file with Chart HTML and Rendor with relevant chart scripts. Following code help us to do display the various chart with different scenarios in laravel application using Chart Package.
|
1 2 3 4 5 6 7 8 9 10 11 12 13 14 15 16 17 18 19 20 21 22 23 24 25 26 27 28 29 30 31 32 33 34 35 36 37 38 39 40 41 42 43 44 45 46 47 48 49 50 51 52 53 54 55 56 57 58 59 60 61 62 63 64 65 66 67 68 69 70 71 72 73 74 75 76 77 78 79 80 81 82 83 84 |
@extends('layouts.app') @section('content') <div class="container"> <div class="panel panel-primary"> <div class="panel-heading">Charts In Laravel 5 Using Charts Package</div> <div class="panel-body"> <div class="row"> <div class="col-md-6"> {!! $chart->html() !!} </div> <br/><br/> <div class="col-md-6"> {!! $pie_chart->html() !!} </div> <br/><br/> <div class="col-md-6"> {!! $line_chart->html() !!} </div> <br/><br/> <div class="col-md-6"> {!! $areaspline_chart->html() !!} </div> <br/><br/> <div class="col-md-6"> {!! $geo_chart->html() !!} </div> <br/><br/> <div class="col-md-6"> {!! $area_chart->html() !!} </div> <br/><br/> <div class="col-md-6"> {!! $donut_chart->html() !!} </div> <br/><br/> <div class="col-md-6"> {!! $percentage_chart->html() !!} </div> </div> </div> </div> {!! Charts::scripts() !!} {!! $chart->script() !!} {!! $pie_chart->script() !!} {!! $line_chart->script() !!} {!! $areaspline_chart->script() !!} {!! $percentage_chart->script() !!} {!! $geo_chart->script() !!} {!! $area_chart->script() !!} {!! $donut_chart->script() !!} @endsection |
Now you are ready to see the demonstration of the different charts using laravel Chart Package.