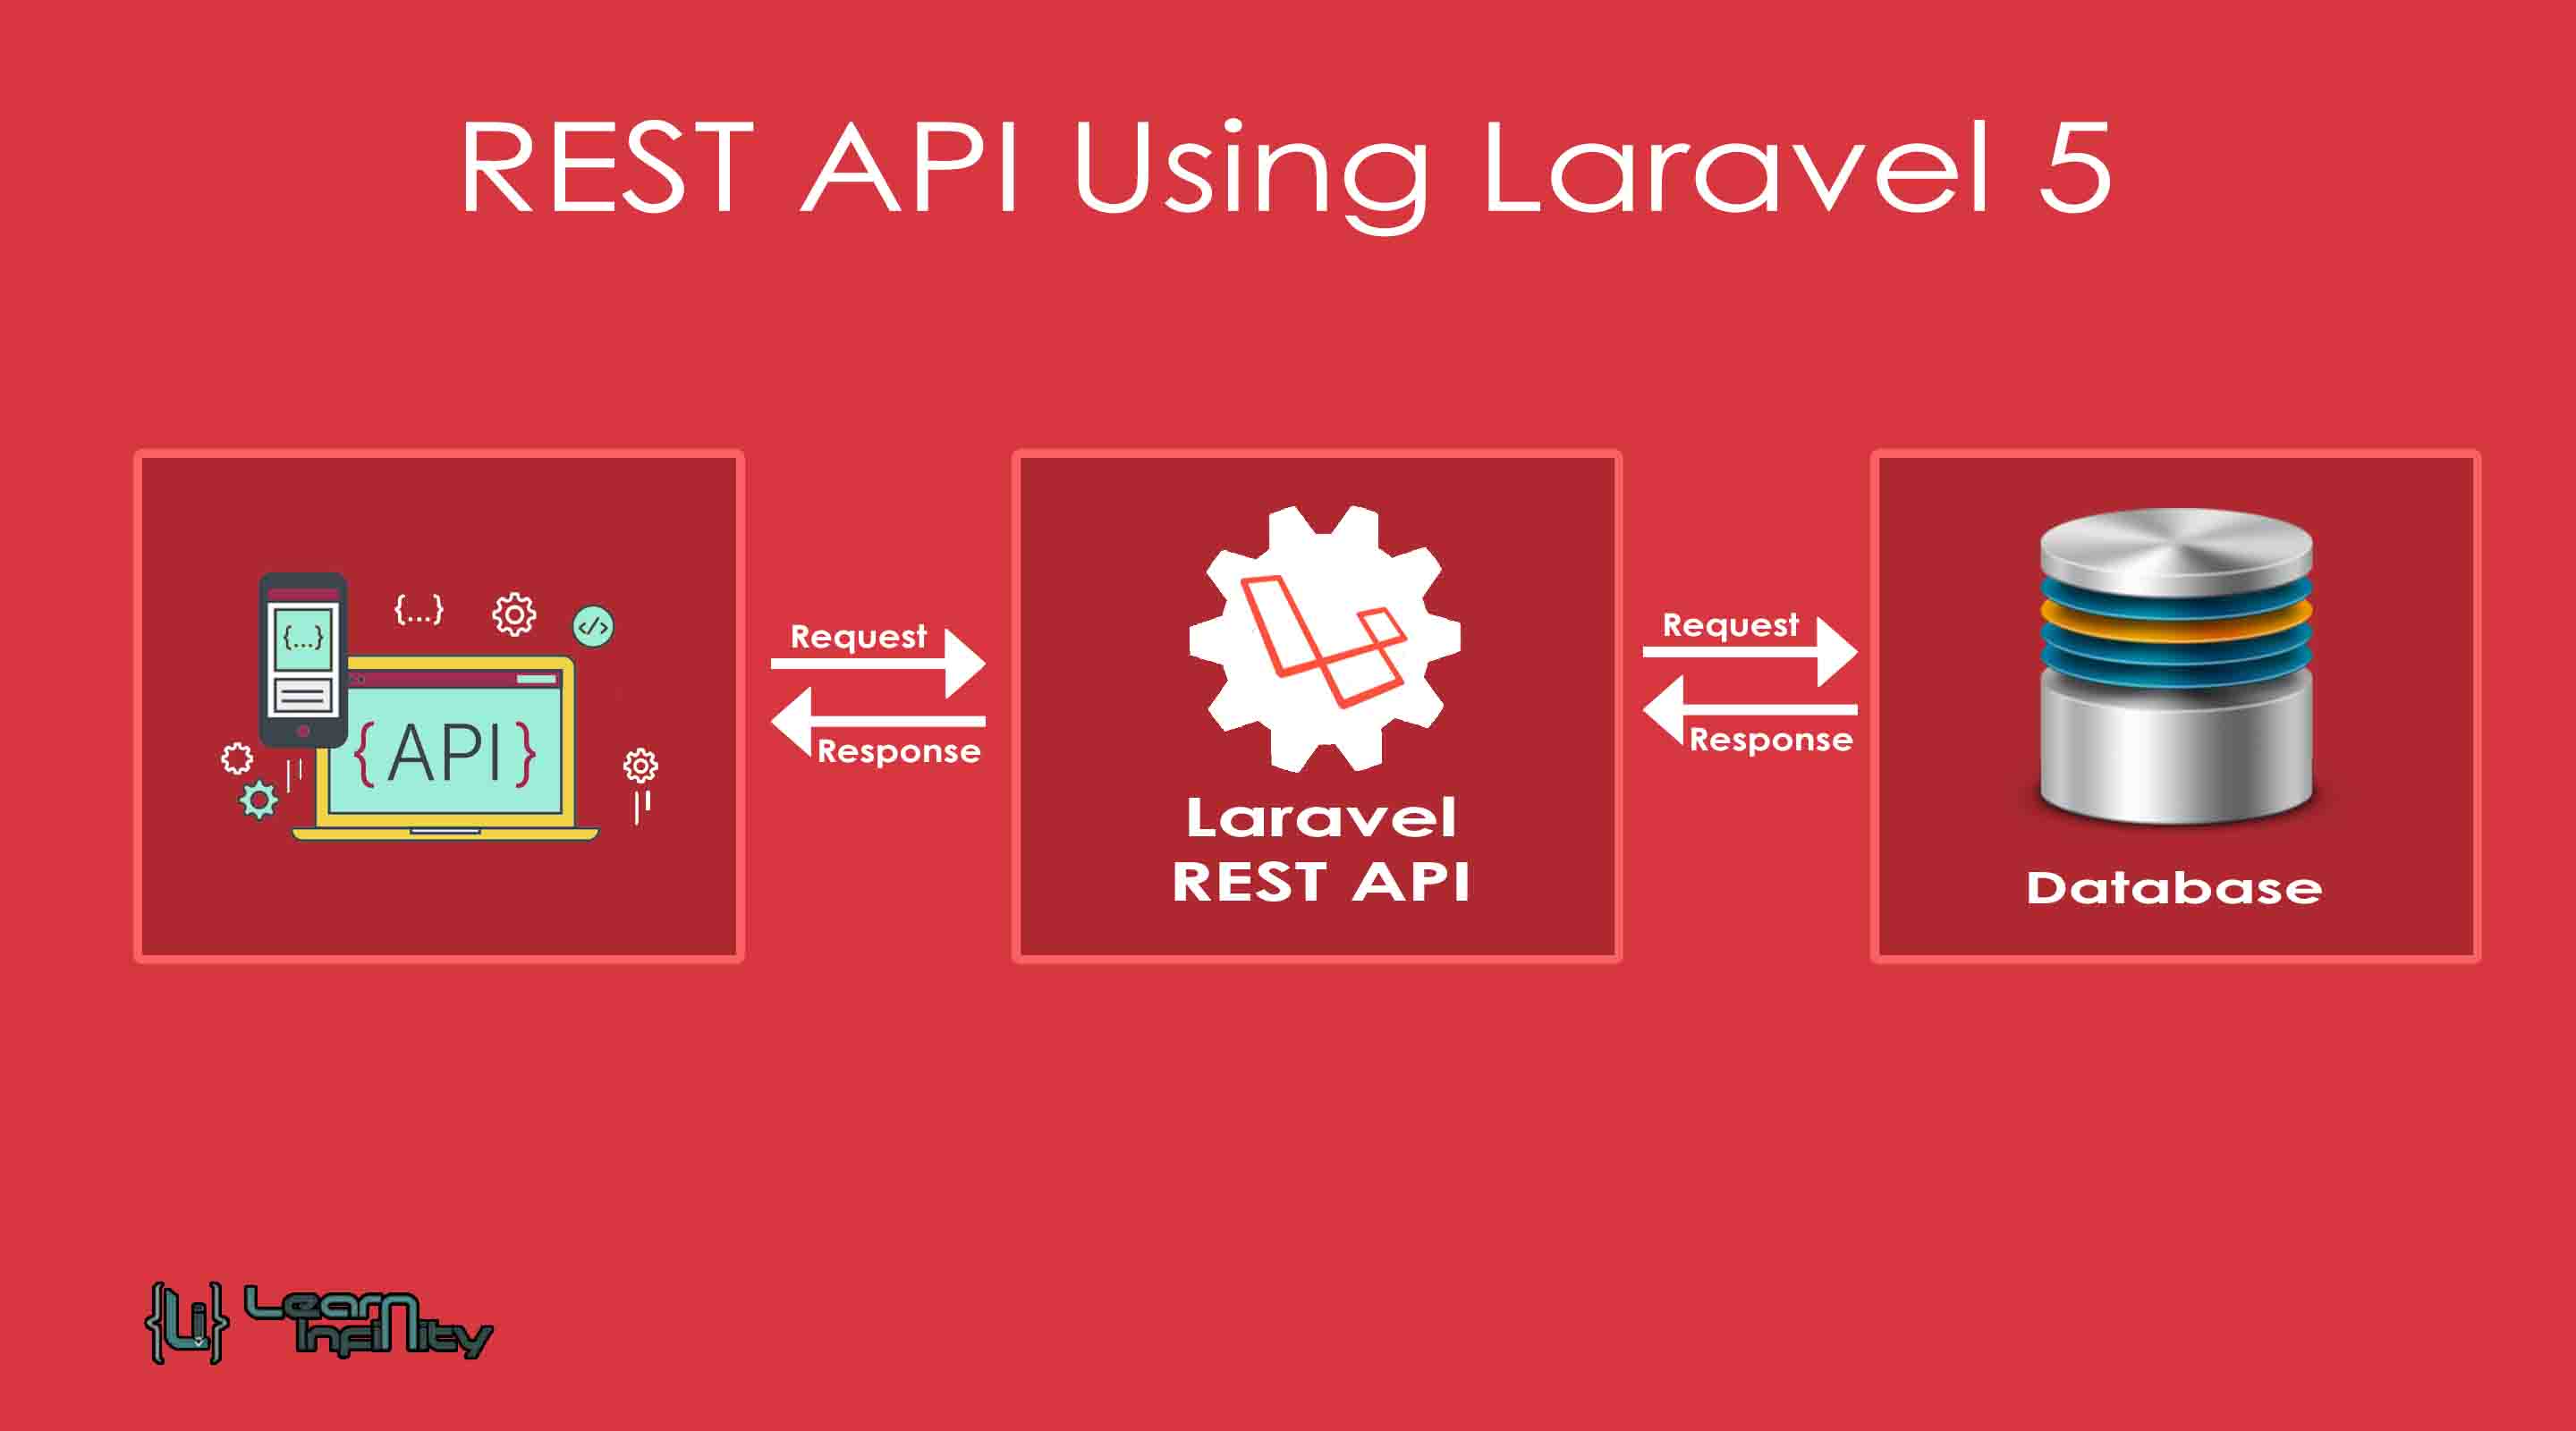

In this post, we are going to learn about REST API using Laravel 5 and MySQL. A RESTful web service helps us to perform CRUD operations with a database. In this post which is part of the REST API series, let us learn how to perform an easy and simple CRUD REST API using Laravel 5 and MySQL for Create, Read, Update and Delete operations.
Most of the single page applications (or SPAs) improving very common and very quickly we see an increasing want to attach REST APIs for every process in it. Most of the systems use the first step by building a simple and quick REST APIs only. I write a simple script that makes common and quick REST API from your MySQL Database tables with full CRUD support.
Step 1: Install Laravel
Here, we need new Laravel application for API passport implementation and demonstration. the following command helps to create a new application.
|
1 |
composer create-project --prefer-dist laravel/laravel myLaravel |
Step 2: Create Model, Controller, and Migration
Here, we want to create a migration for products table using Laravel 5 php artisan command, So run the below command to generate model and controller with migration file:
|
1 2 3 |
php artisan make:model Product -m php artisan make:controller RestApiDemoController |
Above command, help us to create Model, Controller, and Migration for Product master. In migration table file, we need to add the required no of columns details for product table like name, description, and price etc.
|
1 2 3 4 5 6 7 8 9 10 11 12 13 14 15 16 17 18 19 20 21 22 23 24 25 26 27 28 29 30 31 32 33 34 |
<?php use Illuminate\Support\Facades\Schema; use Illuminate\Database\Schema\Blueprint; use Illuminate\Database\Migrations\Migration; class CreateProductsTable extends Migration { /** * Run the migrations. * * @return void */ public function up() { Schema::create('products', function (Blueprint $table) { $table->increments('id'); $table->string('name'); $table->text('description'); $table->float('price'); $table->timestamps(); }); } /** * Reverse the migrations. * * @return void */ public function down() { Schema::dropIfExists('products'); } } |
Then we need to go and update the Product model file in our application like fillable, primary key, product, etc and Product model files present at app/Product.php path and just update with following details in it.
|
1 2 3 4 5 6 7 8 9 10 11 12 |
<?php namespace App; use Illuminate\Database\Eloquent\Model; class Product extends Model { protected $fillable = [ 'name', 'description', 'price', ]; } |
Step 3: Routes Definition
In the third step, we want to add new routes for REST API using Laravel 5. So just goto routes/api.php file and update the following routes to access REST API operation in our application.
|
1 2 3 4 5 |
Route::get('apiProductList', 'RestApiDemoController@list'); Route::post('apiProductNew', 'RestApiDemoController@create'); Route::get('apiProductShow/{id}', 'RestApiDemoController@show'); Route::put('apiProductUpdate/{id}', 'RestApiDemoController@update'); Route::delete('apiProductDelete/{id}', 'RestApiDemoController@delete'); |
Step 4: Create Controller with Methods
On this step, we want to make a new controller for REST API operations in laravel application. After creating a controller file we need to define a methods and handling function in it.
|
1 2 3 4 5 6 7 8 9 10 11 12 13 14 15 |
<?php namespace App\Http\Controllers; use Illuminate\Http\Request; use Response; use App\Product; use Validator; class RestApiDemoController extends Controller { // REST APIs code place here } |
Read or Select using REST API
The READ or SELECT operations are done by passing the action name keyword in the Form data are parsed by GET method only preferred for this operations. We may use this method to pass the search keyword as a parameter to be searched from a database. After this select process, the REST API response as a JSON result data with the Post data details.
|
1 2 3 4 5 6 7 8 9 |
public function list(){ try{ $products = Product::select('id','name','description','price')->get(); return Response::json(['data' => $products],200); }catch(Exception $e){ return Response::json(['errors' => 'Bad Request'], 400); } } |
Create or Insert using REST API
Create or Insert operation is sent including the form data posted values with containing the Product Name, Description and Price Ext. for a new dataset to add to a database. After this insert process, the REST API response as a JSON result data with operation status or validation details.
|
1 2 3 4 5 6 7 8 9 10 11 12 13 14 15 16 17 18 19 20 21 22 23 24 25 26 27 |
public function create(Request $request){ try{ $validator = Validator::make($request->all(), [ 'name' => 'required|min:5', 'description' => 'required', 'price' => 'required' ]); if ($validator->fails()) { return Response::json(['errors' => $validator->errors()], 400); } $product = new Product; $product->name = $request->name; $product->description = $request->description; $product->price = $request->price; $product->save(); return Response::json(['data' => 'added successfully'],200); }catch(Exception $e){ return Response::json(['errors' => 'Bad Request'], 400); } } |
Show or View data using REST API
Show or View data operation is getting the stored data from a database with specified datasets. It may contain Product Name, Description and Price Ext. After this retrieved the data process, the REST API response as a JSON result data with operation status.
|
1 2 3 4 5 6 7 8 9 |
public function show($id){ try{ $product = Product::select('id','name','description','price')->where('id', $id)->first(); return Response::json(['data' => $product],200); }catch(Exception $e){ return Response::json(['errors' => 'Bad Request'], 400); } } |
Edit or Update using REST API
Edit or Update operation is sent including the form data posted values with containing the Product Title, Description, and Price along with edit Product ID key value for find and update particular dataset with a database. After this update process, the REST API response as a JSON result data with operation status or validation details.
|
1 2 3 4 5 6 7 8 9 10 11 12 13 14 15 16 17 18 19 20 21 22 23 24 25 26 |
public function update($id, Request $request){ try{ $validator = Validator::make($request->all(), [ 'name' => 'required|min:5', 'description' => 'required', 'price' => 'required' ]); if ($validator->fails()) { return Response::json(['errors' => $validator->errors()],400); } $product = Product::where('id', $id)->first(); $product->name = $request->name; $product->description = $request->description; $product->price = $request->price; $product->update(); return Response::json(['data' => 'updated successfully'],200); }catch(Exception $e){ return Response::json(['errors' => 'Bad Request'], 400); } } |
Delete or Remove using REST API
Delete or Remove operation help us to remove the unwanted dataset from a database. The particular record ID or find keyword passed as a parameter with value, and it helps to find and delete the particular data from a database, After this delete process, the REST API response as a JSON result data with status.
|
1 2 3 4 5 6 7 8 9 |
public function delete($id){ try{ $product = Product::where('id', $id)->delete(); return Response::json(['data' => 'deleted successfully'],200); }catch(Exception $e){ return Response::json(['errors' => 'Bad Request'], 400); } } |
Now you are ready to see the demonstration of REST API using laravel 5.