Introduction:
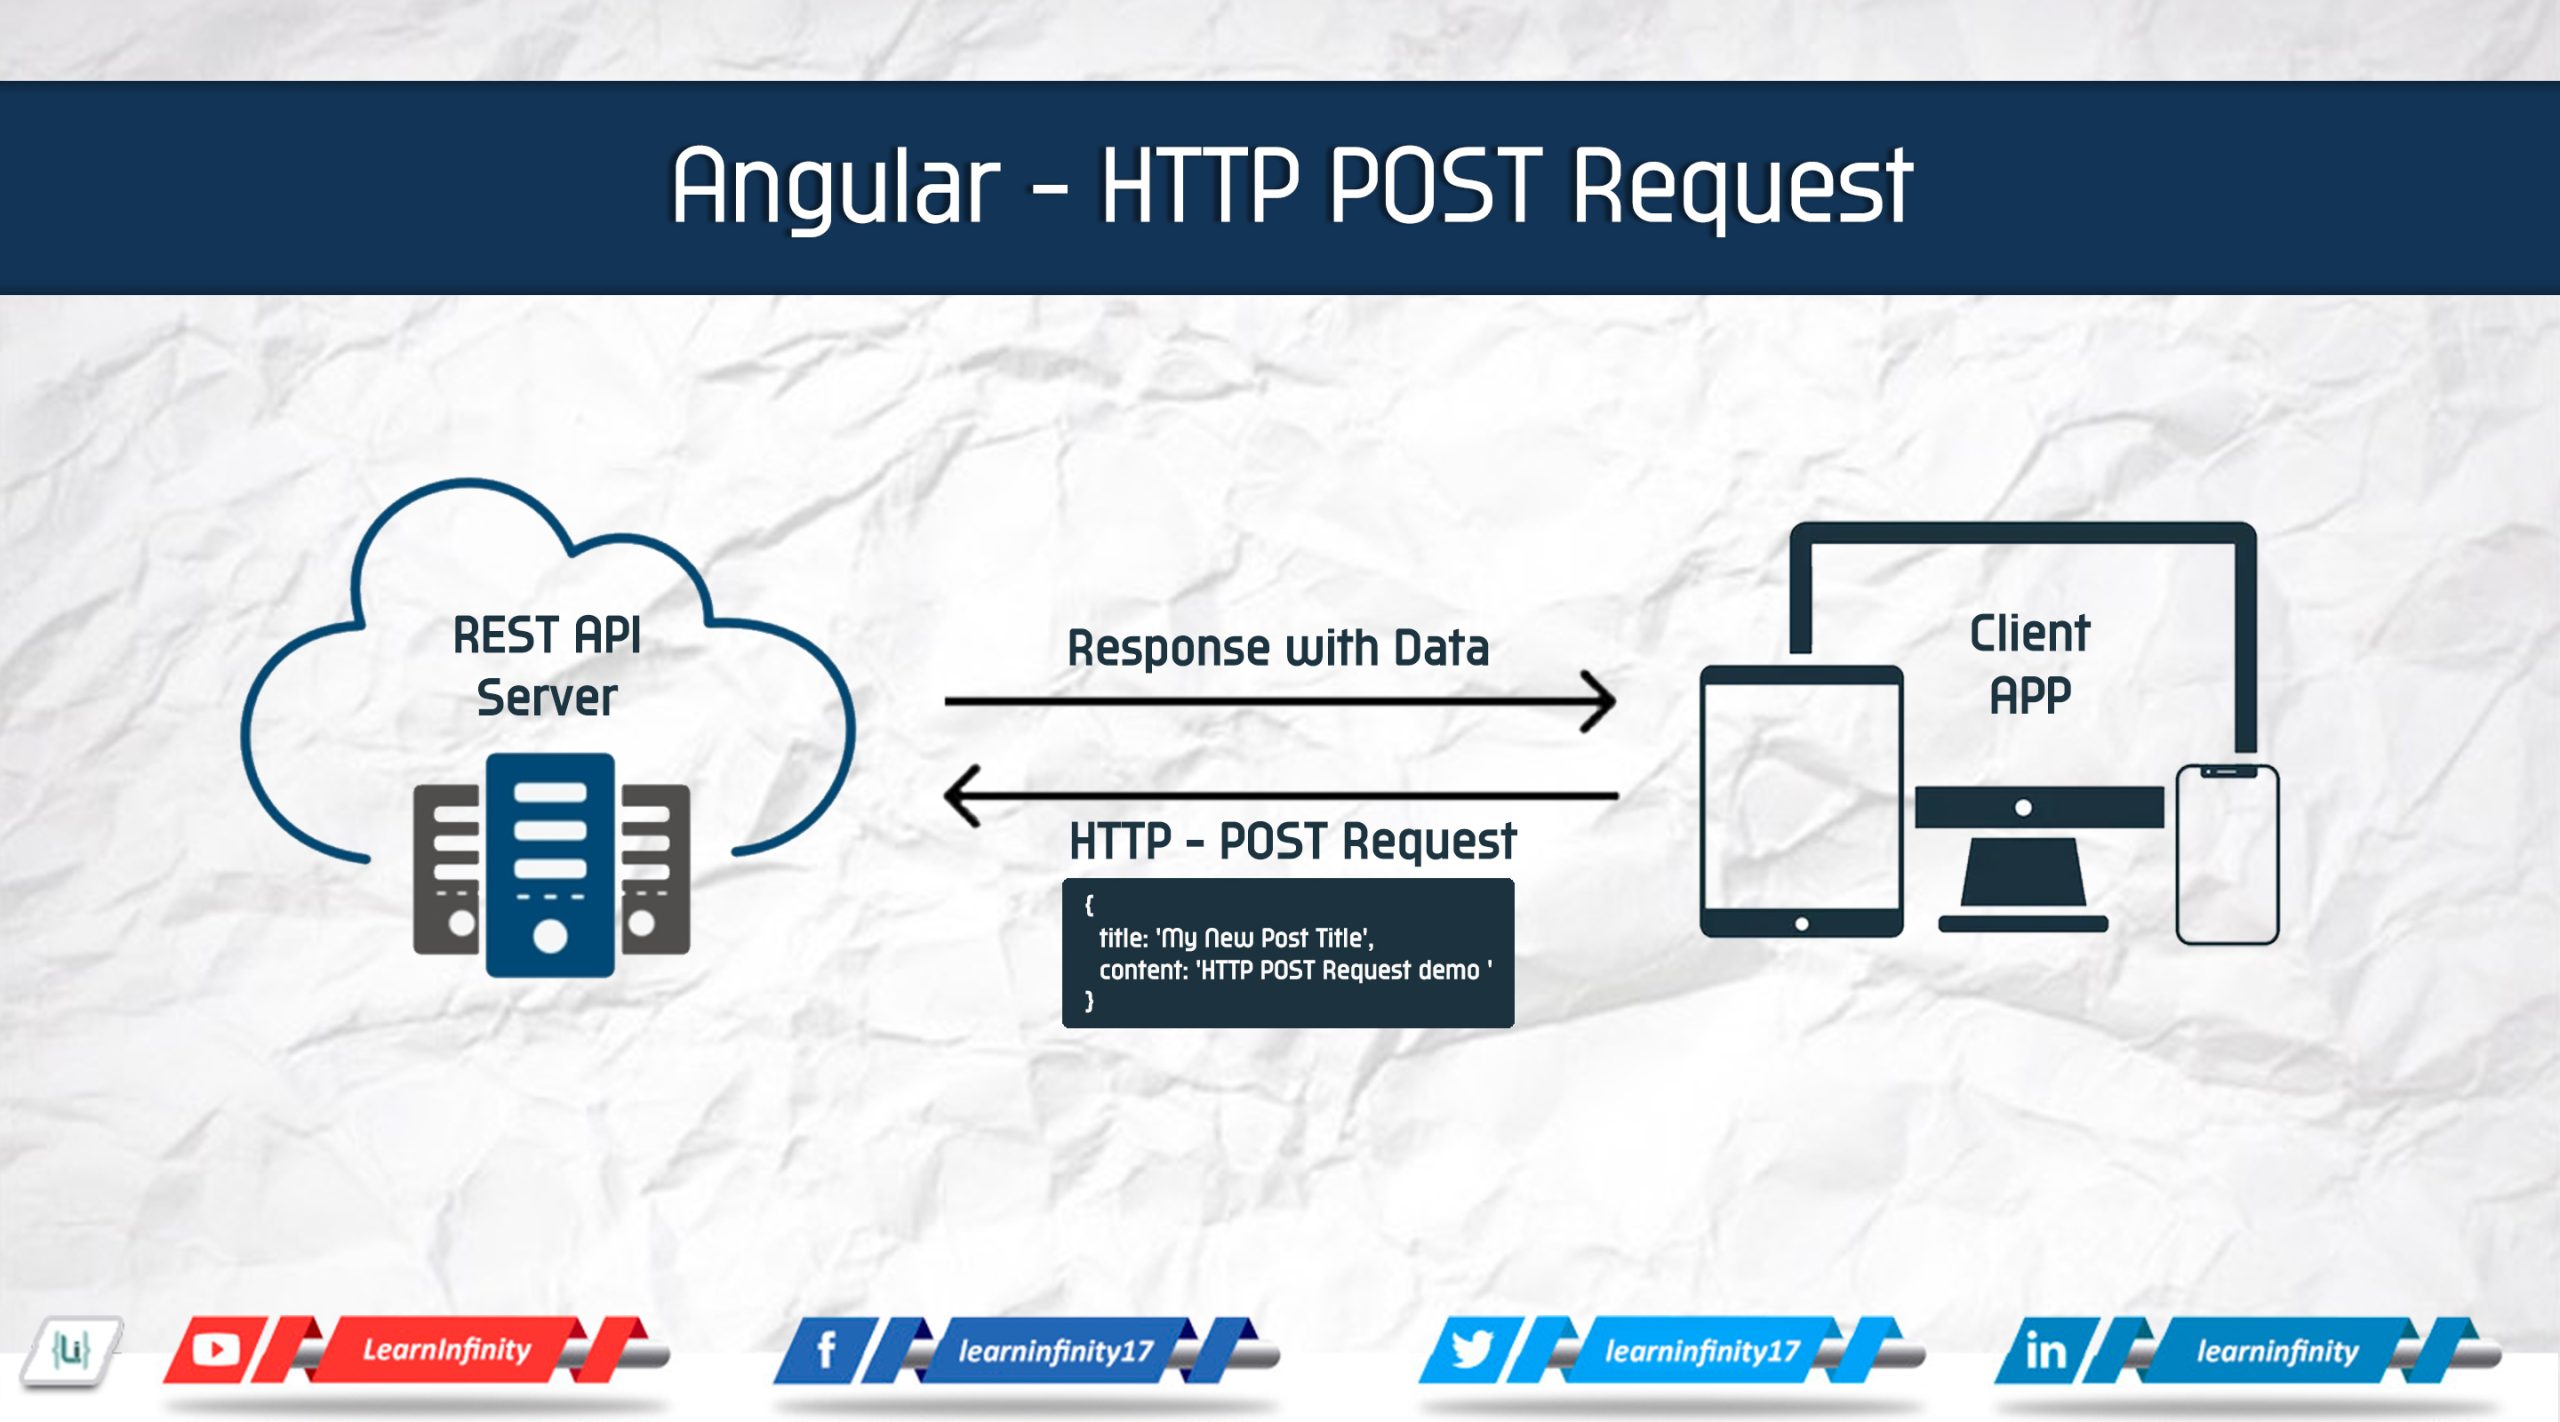
Angular is one of the most popular JavaScript frameworks used for building dynamic web applications. With Angular, developers can easily make HTTP requests to APIs and fetch data. In this tutorial, we will cover how to make a POST request in Angular using the HttpClient module.
Prerequisites:
Before we begin, make sure you have installed the latest version of Angular on your machine. You should also have a basic understanding of Angular, TypeScript, and HTML.
Step 1: Create a New Angular Project
To begin, let’s initiate a fresh Angular project. Please launch your terminal and execute the subsequent command:
|
1 2 3 4 5 |
--- ng new http-post-demo --- |
This command will generate a brand new Angular project named http-post-demo. Next, navigate to the project directory:
|
1 2 3 4 5 |
--- cd http-post-demo --- |
Step 2: Create a Component
Now, let’s create a new component that will contain our HTTP POST request Execute the subsequent command in your terminal:
|
1 2 3 4 5 |
--- ng generate component posts --- |
This will create a new component called post in the src/app directory.
Step 3: Import the HttpClient Module
To make HTTP requests in Angular, we need to import the HttpClient module. Open the posts.component.ts file and add the following import statement at the top of the file:
|
1 2 3 4 5 |
--- import { HttpClient } from '@angular/common/http'; --- |
Step 4: Inject the HttpClient Service
Next, we need to inject the HttpClient service into our component. In the constructor of the PostComponent class, add the following code:
|
1 2 3 4 5 |
--- constructor(private http: HttpClient) { } --- |
Step 5: Create the POST Request
Now we are ready to create our POST request. In the posts.component.ts file, add the following method:
|
1 2 3 4 5 6 7 8 9 10 11 12 13 |
--- createPost() { const body = { title: 'My New Post Title', content: 'Learn Infinity - HTTP POST Request demo ' }; this.http.post('https://jsonplaceholder.typicode.com/posts', body) .subscribe(response => { console.log(response); }); } --- |
In this method, we are creating a new post with a title and content. We are using the post() method of the HttpClient service to make the request. This method takes two arguments: the URL to make the request to and the data to send in the request body. In our example, we are sending the data as a JSON object.
The subscribe() method is used to handle the response from the server. In this example, we are simply logging the response to the console.
Step 6: Create a Button to Trigger the POST Request
Finally, we need to create a button that will trigger the POST request. In the posts.component.html file, add the following HTML code:
|
1 2 3 4 5 |
--- <button (click)="createPost()">Create Post</button> --- |
This will create a button that, when clicked, will trigger the createPost() method we defined earlier.
Include – Error handling
This makes a request to an invalid URL on the API call, logs the error to the console, and assigns the error to the component attribute errorMessage.
The next() function is called if the request is successful, while the error() function is invoked if the request fails. Both callback functions are contained in the object supplied to the request subscribe() method.
|
1 2 3 4 5 6 7 8 9 10 11 12 13 14 15 16 17 |
--- createPostsWithErrorHandel() { const body = { title: 'My New Post Title', content: 'Learn Infinity - HTTP POST Request demo with error handel' }; this.http.post('https://jsonplaceholder.typicode.com/posts', body) .subscribe({ next: data => { return data; }, error: error => { return error.message; console.log('There was an error!', error); } }) } --- |
Configuring the Routes:
To configure the router, add following code block into your app.module.ts file:
|
1 2 3 4 5 6 7 8 9 10 11 12 13 14 15 16 17 |
... import { Routes, RouterModule } from '@angular/router'; and const routes: Routes = [ {path:'posts', component:PostsComponent} ]; and RouterModule.forRoot(routes), ... |
Include Http Client Module with APP:
Next, we have to import HttpClientModule in app.module.ts file and include imports array object.
|
1 2 3 4 5 6 7 8 9 10 11 12 13 |
... import { HttpClientModule } from '@angular/common/http'; and imports: [ ... HttpClientModule, ... ], ... |
Include Router Outle:
Next, we have to import router-outlet in relevant app layout file, here i added in app.component.html file.
|
1 2 3 4 5 |
.... <router-outlet></router-outlet> .... |
Using – Reactive Form
Angular furnishes two approaches to work with forms: Template Driven Forms and Reactive Forms. The latter grants you more control over your form’s structure. To commence with Reactive Forms in our Angular application, we must import ReactiveFormsModule from the @angular/forms package and append it to your NgModule’s imports array in the following manner:
|
1 2 3 4 5 6 7 8 9 10 11 |
--- import { ReactiveFormsModule } from '@angular/forms'; @NgModule({ imports: [ ReactiveFormsModule ], }) --- |
To stylize our Reactive Form, we’ll utilize the Bootstrap CDN. Open the index.html file in the app directory and insert the CSS CDN inside the head tag and the Script CDN right before the closing body tag.
Reactive Forms in Angular provide us with the advantage of using the FormBuilder to manage and validate our form. To accomplish this, import the FormBuilder class from the @angular/forms package into the posts.component.ts file, like this:
|
1 2 3 4 5 |
--- import { FormBuilder, FormControl, Validators} from '@angular/forms' --- |
In addition, we must add the FormBuilder Service dependency to the component constructor.
|
1 2 3 4 5 |
--- constructor(private builder: FormBuilder) { } --- |
Next, we need to create a property named FormData of FormGroup type and generate form controls with the FormBuilder, as shown below:
|
1 2 3 4 5 6 7 8 9 10 11 12 |
--- ngOnInit(): void { this.FormData = this.builder.group({ title: new FormControl('', [Validators.required]), body: new FormControl('', [Validators.required]) }) } --- |
We’re nearly finished; let’s add some HTML to our template. Navigate to posts.component.html and insert the following code snippet:
|
1 2 3 4 5 6 7 8 9 10 11 12 13 14 15 16 17 18 19 20 21 22 |
--- <div class="container"> <h2 class="text-center mb-5">Angular Reactive Form</h2> <div class="row"> <div class="col-md-6 offset-md-3"> <form [formGroup]="FormData" (ngSubmit)="createPostsWithForm(FormData.value)"> <div class="form-group"> <label for="title">Post Title</label> <input type="text" class="form-control" name="title" placeholder="Post Title" formControlName="title"> </div> <div class="form-group"> <label for="body">Post Body</label> <textarea class="form-control" formControlName="body" name="body"></textarea> </div> <button type="submit" class="btn btn-primary" [disabled]="!FormData.valid">Add Post</button> </form> </div> </div> </div> --- |
Lastly, in posts.component.ts, let’s generate an createPostsWithForm() function and inject our service into it.
|
1 2 3 4 5 6 7 8 9 10 11 12 13 14 15 16 |
--- createPostsWithForm(FormData:any) { this.http.post('https://jsonplaceholder.typicode.com/posts', FormData) .subscribe({ next: data => { return data; }, error: error => { return error.message; console.log('There was an error!', error); } }) } --- |
Conclusion:
In this tutorial, we have covered how to make a HTTP POST request in Angular using the HttpClient module. We have created a new Angular project, created a new component, imported the HttpClient module, injected the HttpClient service, created the POST request, and added a button to trigger the request. By following these steps, you should now be able to make POST requests in your own Angular projects.


