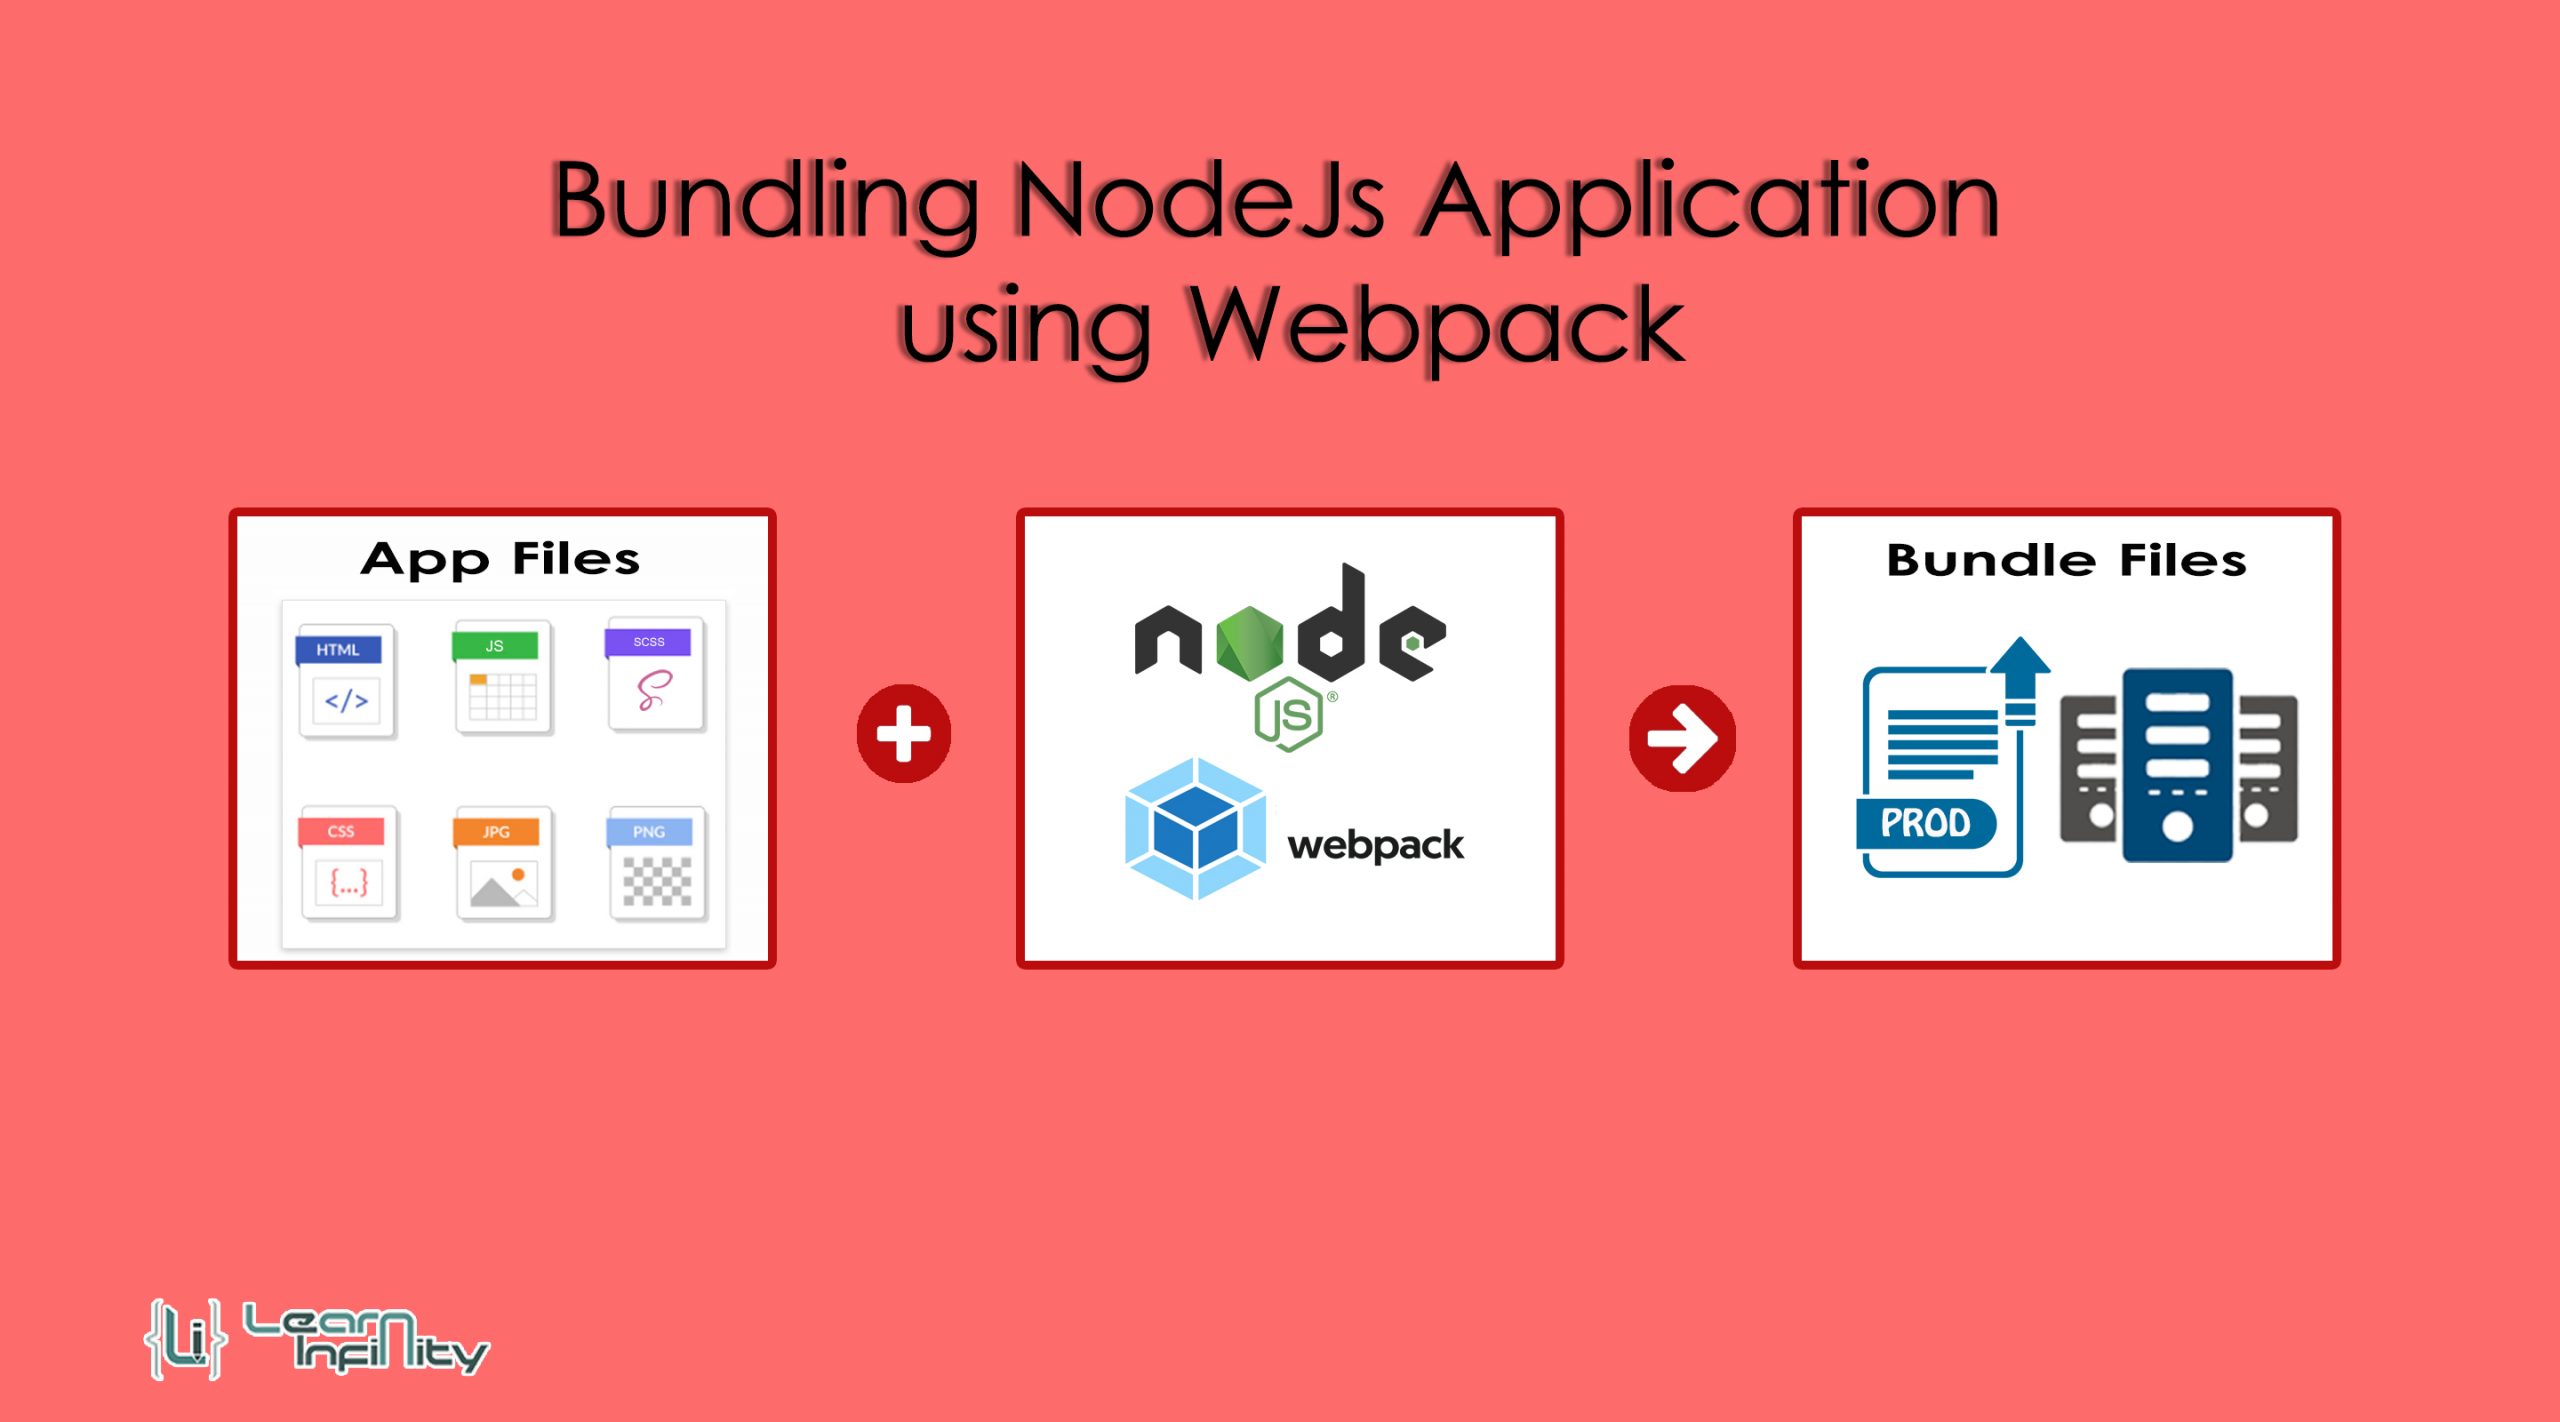

Hi guys, in this article we are going to know about Bundling NodeJs Application using Webpack. During our Production build, we require the file sizes to be as tiny as likely to improve app loading and usage speed. We also require there to be as few files as possible to decrease the number of request calls of the server and also we want to minify and uglify our written source code, with comments and blank space removed. We also require to encode static images directly into our HTML files.
To bypass unwanted imports and to keep Development and Production thoughts separate, we will have a separate Express server file for Development and Production, and separate Webpack config files for Development and Production our node application code, and for the server also.
Step 1: Install nodejs in your system / Make workspace directory
Let’s begin from scratch with a new folder and run the following command to make a new folder and package.json file.
|
1 2 3 4 5 |
mkdir webpack_demo cd webpack_demo npm init --yes |
Step 2: Install required packages using NPM
Here we need to install required dependency packages using the following commands. This package installs as a DEV dependency.
|
1 |
npm i -D webpack webpack-cli |
Step 3: Create the required folders
Now we need to create “src” folder inside of our application because of the Webpack default entry point as “src” folder. Create index.html and main.js file once the source folder had been created in our working directory.
|
1 2 3 4 5 |
mkdir src touch main.ts touch index.html |
Step 4: Basic Bundling process
Run the following command to generate a bundling file from our source code. This command will commple our source code and create bundle files into the dist folder.
|
1 2 3 4 |
webpack <entry> [<entry>] -o <output> webpack src/index.js -o dist/main.js |
Step 5: Adding Script / Command
Add build command on script section in package.json file and it helps us to use lang command with a single keyword.
|
1 2 3 |
"build": "webpack <entry> [<entry>] -o <output>", "build": "webpack src/index.js -o dist/main.js", |
Step 6: Webpack bundle mode
Bundling mode help us to define what kind of file comprestion is reuired to production and development process. We can add this property using mode parameter in webpack command.
|
1 2 3 4 |
-d (or) --mode development // It wont minify the script -p (or) --mode production // It will minify the script |
Step 7: Webpack Config file setup
Webpack is a zero-configuration setup process but we can config some basic and relevant details for the bundling process. Using this file we can define entry point, destination path, bundle file name, module, and rule for bundling process. It also helps us to define multiple configurations files for a different mode of bundling like dev or prod.
- entry -> Entry point for Webpack src file
- output -> It helps us to configure output files
- mode -> Bundling mode like dev or production
|
1 |
touch webpack.config.js |
|
1 2 3 4 5 6 7 8 9 |
const path = require("path"); module.exports = { entry: './src/index.js', output: { path: path.join(__dirname, 'dist'), filename: 'main.[hash].js' }, } |
Step 8: Bundling & Copy HTML file to the dist folder
Here we need to move the HTML file to the dist folder for the production build test. Basic Webpack command will process the entry JS file and move the bundled JS file to the dist folder. To do this operation we need the following package and install as a dev dependency.
|
1 |
npm i -D html-webpack-plugin html-loader |
Once the package has been installed in our working directory we need to add the rule and plugins for the HTML files process.
|
1 2 3 4 5 6 7 8 9 10 11 12 13 14 15 16 17 18 19 20 21 22 23 24 25 26 27 28 29 30 31 32 33 34 35 36 37 38 39 40 41 42 43 |
..... ..... const HtmlWebpackPlugin = require("html-webpack-plugin"); ..... ..... module.exports = { entry: './src/index.js', output: { path: path.join(__dirname, 'dist'), filename: 'main.[hash].js' }, module: { rules:[ .... .... { test: /\.html$/, use: [ { loader: "html-loader", options: { minimize : false } } ] }, .... .... ] }, plugins: [ .... .... new HtmlWebpackPlugin({ template: "./src/index.html", filename: "./index.html" }), .... .... ] } |
Step 9: Bundling & Copy JS file to dist folder using babel-loader
Here we need to add the rule for JS files compression and it uses bable-loader for syntax check and file minimization. Here we exclude node_modules director for JS file compression. For this, we need the following packages and install as a dev dependency
|
1 |
npm i -D @babel/core babel-loader @babel/preset-env |
Once the package has been installed in our working directory we need to add the rule for the JS files process.
|
1 2 3 4 5 6 7 8 9 10 11 12 13 14 15 16 17 18 19 20 21 22 |
.... .... module.exports = { module: { rules:[ .... .... { test: /\.js$/, exclude: /node_modules/, use: { loader: "babel-loader" } }, .... .... ] }, } |
Step 10: webpack-dev-server configuration
Webpack dev server helps a lot while development time. It will compile source code and keep it as in temporary cache path. It won’t create any dist folder on the working directory instead of this it will produce a URL path to access the laster compiled code. Using this dev server we can check our code modification as instantly into the browser. The following package is required for dev server configuration and installs as a dev dependency.
|
1 |
npm i -D webpack-dev-server |
Add script in package.json file,
|
1 2 3 4 5 6 7 |
"scripts": { ..... ..... "webpack:dev": "webpack-dev-server" ..... ..... }, |
Step 11: Bundling & Copy Image file to dist folder
Most of the time we include some static files into our HTML pages like images. While normal Webpack compile process it won’t move to the dist directory. For this, we need to include the following packages and install them as a dev dependency in the working directory. This package will generate new images with a hashed file name and move to the dist folder and update the HTML file with relevant file names automatically.
|
1 |
npm i -D file-loader |
Once the package has been installed in our working directory we need to add the rule for the Static files process.
|
1 2 3 4 5 6 7 8 9 10 11 12 13 14 15 16 17 18 19 20 21 22 |
.... .... module.exports = { rules:[ .... .... { test: /\.(png|jpg|svg|gif)$/, use: [ { loader: "file-loader", } ] }, .... .... ] }, } |
Step 12: Bundling & Copy SCSS file to dist folder
In major applications have style details for there components. For this, we use Style files and corresponding details writing inside of it. While loading the HTML file corresponding style components also loaded with it. For adding style component into our dist folder we need the following packages and install as a dev dependency.
|
1 |
npm i --save-dev css-loader style-loader sass-loader node-sass |
After the packages have been installed we need to add the rule for the Style files process.
|
1 2 3 4 5 6 7 8 9 10 11 12 13 14 15 16 17 18 19 20 |
module.exports = { .... .... module: { rules:[ .... .... { test: /\.scss$/, use: [ "css-loader", "sass-loader" ] }, ] }, .... .... } |
The above code helps us to compile the SCSS file to the CSS file and minifying the CSS file to the uglify file. After it includes the style input as a normal JS script into the HTML file. It won’t create any separate CSS file for application style.
|
1 2 3 4 5 6 7 8 9 10 11 12 13 14 15 16 17 18 19 20 21 |
module.exports = { .... .... module: { rules:[ .... .... { test: /\.scss$/, use: [ "style-loader", "css-loader", "sass-loader" ] }, ] }, .... .... } |
Step 13: Include compiled SCSS as CSS file into index HTML file
For adding separate style files and include into HTML we need the following package for CSS extract. We need to install the following package as a dev dependency.
|
1 |
npm i -D mini-css-extract-plugin |
After package gets installed we need to include a plugin code in the Webpack config file and also we need to include extract loader in the SCSS rule loader list.
|
1 2 3 4 5 6 7 8 9 10 11 12 13 14 15 16 17 18 19 20 21 22 23 24 25 26 27 28 29 30 31 32 33 34 |
const MiniCssExtractPlugin = require("mini-css-extract-plugin"); module.exports = { .... .... module: { rules:[ .... .... { test: /\.scss$/, use: [ MiniCssExtractPlugin.loader, // "style-loader", "css-loader", "sass-loader" ] }, ] }, .... .... plugins: [ .... .... new MiniCssExtractPlugin({ filename: "[name].[hash].css", chunkFilename: "[id].[hash].css" }) .... .... ] } |
Step 14: Cleaning old file in the dist folder
Most of the time we run the bundling process for code changes and any file content changes for production deployment. At that time we need to clear the old build folder or director for fresh code. It mandatory for old content replaces with new content. To avoiding cache and extra file process we want to do the above operations. For this, the following package helps us to clear the old dist folder and create a new file component for the new build process. We need to install the following package as a dev dependency.
|
1 |
npm install --D clean-webpack-plugin |
After completion of the above process, we need to include a new plugin with Webpack config plugin array. It always runs clear command before the new bundling process.
|
1 2 3 4 5 6 7 8 9 10 11 |
.... .... const {CleanWebpackPlugin} = require("clean-webpack-plugin"); module.exports = { .... .... plugins: [ new CleanWebpackPlugin(), ] } |
Here the complete webpack config file details.
|
1 2 3 4 5 6 7 8 9 10 11 12 13 14 15 16 17 18 19 20 21 22 23 24 25 26 27 28 29 30 31 32 33 34 35 36 37 38 39 40 41 42 43 44 45 46 47 48 49 50 51 52 53 54 55 56 57 58 59 60 61 |
const path = require("path"); const HtmlWebpackPlugin = require("html-webpack-plugin"); const MiniCssExtractPlugin = require("mini-css-extract-plugin"); const {CleanWebpackPlugin} = require("clean-webpack-plugin"); module.exports = { entry: './src/index.js', output: { path: path.join(__dirname, 'dist'), filename: 'main.[hash].js' }, module: { rules:[ { test: /\.js$/, exclude: /node_modules/, use: { loader: "babel-loader" } }, { test: /\.html$/, use: [ { loader: "html-loader", options: { minimize : false } } ] }, { test: /\.(png|jpg|svg|gif)$/, use: [ { loader: "file-loader", } ] }, { test: /\.scss$/, use: [ MiniCssExtractPlugin.loader, // "style-loader", "css-loader", "sass-loader" ] }, ] }, plugins: [ new CleanWebpackPlugin(), new HtmlWebpackPlugin({ template: "./src/index.html", filename: "./index.html" }), new MiniCssExtractPlugin({ filename: "[name].[hash].css", chunkFilename: "[id].[hash].css" }) ] } |
That’s all we already have done all required component rules and plugins for HTML, JS, Static Files, SCSS, and Cleanup process. Now we are ready to do a build process for all kinds of environment deployment.
Download Git Repository