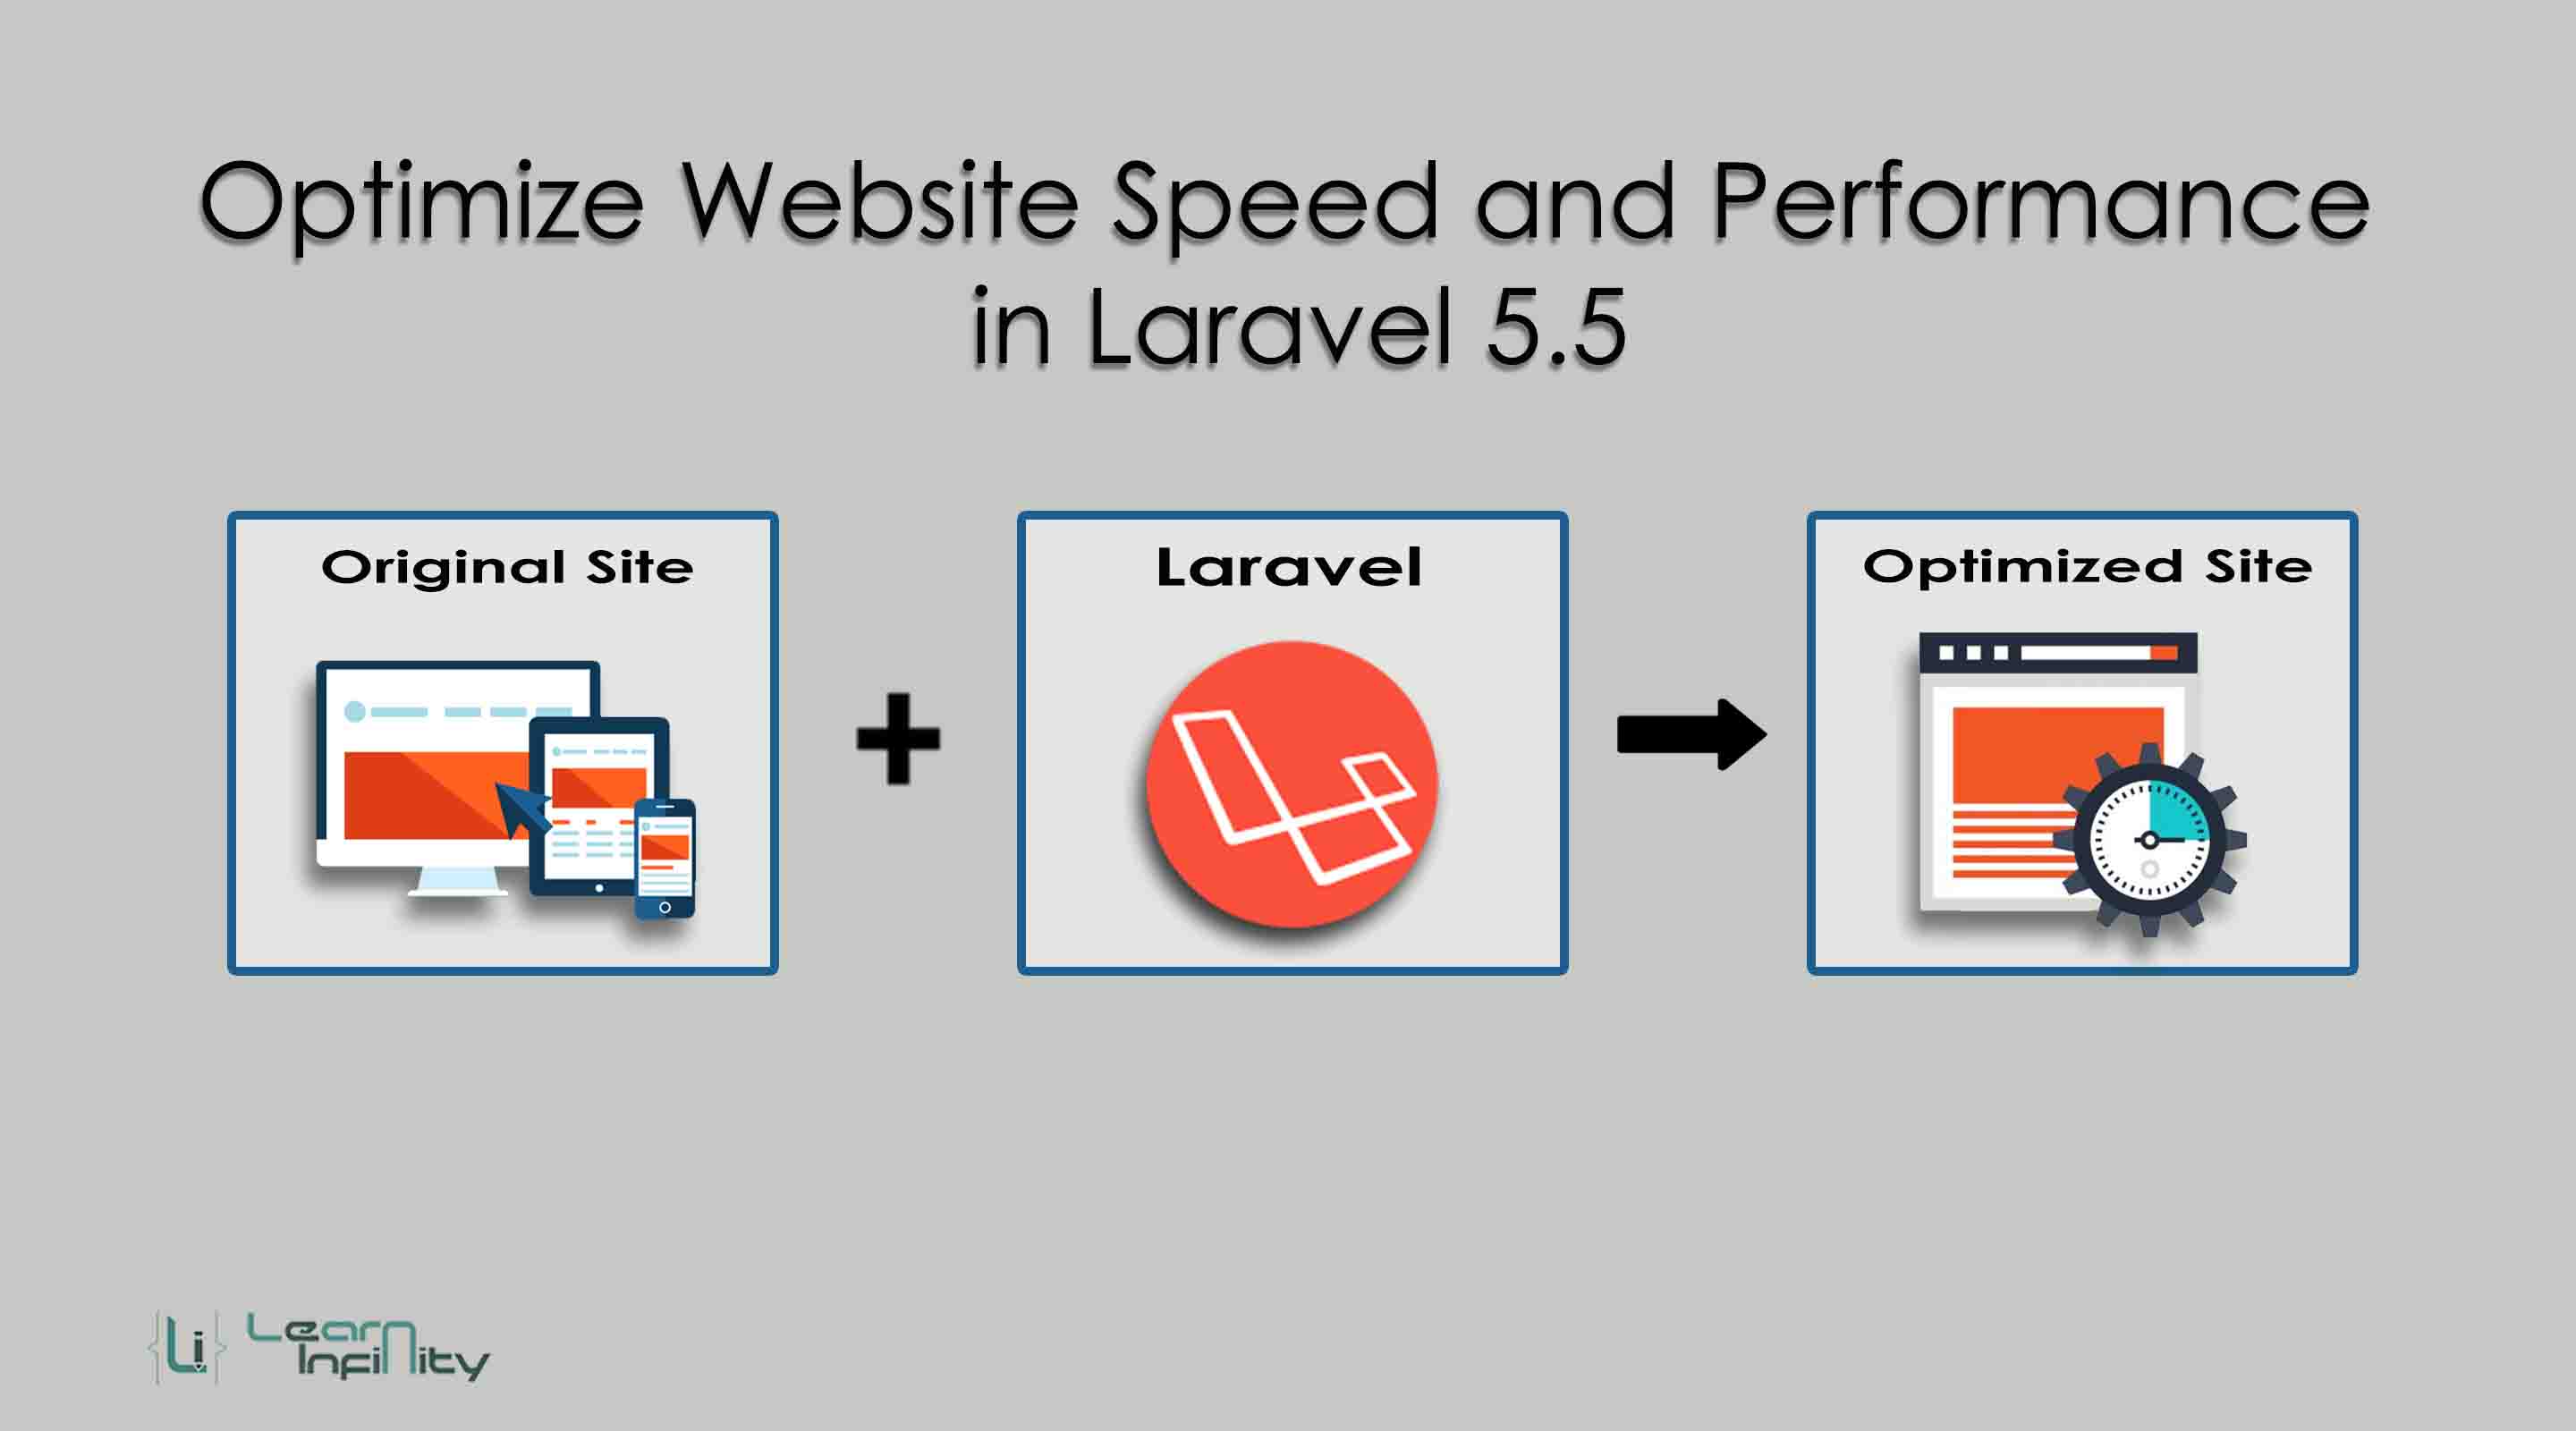
.In this post, we are going to know how to Optimize website speed and performance of our application it will help us to improve or increase loading time twice. It is essential for each and every website or application to load faster load that means your website should load in fewer seconds like 4s or 5s. We are always facing issues regarding page load speed like how to improve website or application speed in laravel, how to decrease the loading time of website or application in laravel, and primarily, we have many questions about how to increase or improve our website performance in laravel.
However, There are many composer packages possible to increase or improve website page loading speed in PHP so that “laravel-page-speed” composer package help us to improve our application load time for 50%+ optimization of our website applications. Laravel-page-speed package helps us to minify HTML output and it can be optimization our web page. This package will remove unused properties in HTML tags, remove unused quotes in HTML, remove unused blank space or whitespace in HTML page, and remove comments. They also minify CSS and JS files too and here are many things made on our application pages and because of above process it makes a better performance at it was before.
Step 1: Create a Laravel Application
We can install Laravel by issuing the Composer create-project command in your terminal like so: composer create-project –prefer-dist laravel/laravel <app-name> “5.4.*”.
|
1 |
composer create-project --prefer-dist laravel/laravel testApp “5.4.*” |
Step 2: Install Package
In this step, we need to download and extract renatomarinho/laravel-page-speed package using composer. Simply add the package name with version details in a composer.json file and run a composer update command.
|
1 2 3 4 5 |
"require": { ...... ...... "renatomarinho/laravel-page-speed": "^1.8" }, |
and run the following command
|
1 |
composer update |
Step 3: Update provider details
After successfully extract the package, Goto config/app.php file and append service provider and alias details with specific classes.
|
1 2 3 4 5 |
'providers' => [ .... .... RenatoMarinho\LaravelPageSpeed\ServiceProvider::class, ], |
Step 4: Publish the package
After adding provider details we need to publish the particular package to implement in our application. Following command help us to publish the package after executing the command only we can use the package
|
1 |
php artisan vendor:publish --provider="RenatoMarinho\LaravelPageSpeed\ServiceProvider" |
Step 5: Addming middleware for web access
After publishing the package we need to add middleware details in Kernel.php file. Just copy and paste it following codes under $middlewareGroups,
|
1 2 3 4 5 6 7 8 9 10 11 12 13 |
protected $middlewareGroups = [ 'web' => [ ........ ........ \RenatoMarinho\LaravelPageSpeed\Middleware\InlineCss::class, \RenatoMarinho\LaravelPageSpeed\Middleware\ElideAttributes::class, \RenatoMarinho\LaravelPageSpeed\Middleware\InsertDNSPrefetch::class, \RenatoMarinho\LaravelPageSpeed\Middleware\RemoveComments::class, \RenatoMarinho\LaravelPageSpeed\Middleware\TrimUrls::class, \RenatoMarinho\LaravelPageSpeed\Middleware\RemoveQuotes::class, \RenatoMarinho\LaravelPageSpeed\Middleware\CollapseWhitespace::class, ] ] |
Step 6: Define Route
In this step, we are going to add a route to check Optimized Website Speed and Performance in Laravel 5.5
|
1 2 3 |
Route::get('/listView', function () { return view('listView'); }); |
Step 7: View page details
In final, we need to create blade file and include set of our code to display.
|
1 2 3 4 5 6 7 8 9 10 11 12 13 14 15 16 17 18 19 20 21 22 23 24 25 26 27 28 29 30 31 32 33 34 35 36 37 38 39 40 41 42 43 44 45 46 47 48 49 50 51 52 53 54 55 56 57 58 59 60 61 62 63 64 65 66 67 68 69 70 71 72 73 74 75 76 77 78 79 80 81 82 83 84 85 86 87 88 89 90 91 92 93 94 95 96 97 98 99 100 101 102 103 104 105 106 107 108 109 110 111 112 113 114 115 116 117 118 119 120 121 122 123 124 125 126 127 128 129 130 131 132 133 134 135 136 137 138 139 140 141 142 |
<!doctype html> <html lang="{{ app()->getLocale() }}"> <head> <meta charset="utf-8"> <meta http-equiv="X-UA-Compatible" content="IE=edge"> <meta name="viewport" content="width=device-width, initial-scale=1"> <title>Laravel</title> <!-- Fonts --> <link href="https://fonts.googleapis.com/css?family=Raleway:100,600" rel="stylesheet" type="text/css"> <!-- Styles --> <style> html, body { background-color: #fff; color: #636b6f; font-family: cursive; font-weight: 100; height: 100vh; margin: 0; color: #000 !important; } .title { font-size: 84px; } .links > a { color: #636b6f; padding: 0 25px; font-size: 12px; font-weight: 600; letter-spacing: .1rem; text-decoration: none; text-transform: uppercase; } .m-b-md { margin-bottom: 30px; } h4.li-post-title { font-family: sans-serif; font-size: 150%; border-bottom: solid 2px #ce5014; color: #d25151; } .li-post-group { PADDING: 0PX 15PX; } </style> </head> <body> <div class="flex-center position-ref full-height"> @if (Route::has('login')) <div class="top-right links"> @if (Auth::check()) <a href="{{ url('/home') }}">Home</a> @else <a href="{{ url('/login') }}">Login</a> <a href="{{ url('/register') }}">Register</a> @endif </div> @endif <div class="content"> <h1>My Post List</h1> <hr/> <div class="post-data-list"> <div class="li-post-group"> <h4 class="li-post-title">Drag and Drop Table Row Sorting (Ajax, PHP and MySQLi)</h4> <p class="li-post-desc">In this post, We are going to know how to do Drag and Drop Table Row Sorting with Ajax and PHP script without a refresh of the page. Using this function we can quickly sort or re-order table row data with an easy user interface and Drag and Drop HTML element very useful us to a done table row sorting. Here we have used JQuery UI Drag and Drop library Sortable() function and using this function we can easily move any HTML element from one area to another and the particular element will be placed automatically and it will be sort element.</p> </div> <div class="li-post-group"> <h4 class="li-post-title">IMPORT XML DATA INTO MYSQL DATABASE (AJAX, PHP AND PDO)</h4> <p class="li-post-desc">In this article, we are going to know how to Import XML Data into Mysql Database table by using PHP code with Ajax. We all know XML stands for eXtensible Markup Language and it is used for to save and read data on the web and this data readable format for human and machine also.</p> </div> <div class="li-post-group"> <h4 class="li-post-title">LIVE DATA SEARCH (AJAX, PHP AND MYSQLI)</h4> <p class="li-post-desc">In this post, we are going to learn Ajax Live Data Search with a help of PHP, MySQLi and Ajax. In real-time most of the website and web applications providing content search option to make the application as most user-friendly.</p> </div> <div class="li-post-group"> <h4 class="li-post-title">Form Submission With Validation Using AngularJS and PHP</h4> <p class="li-post-desc">In this post, we are going to learn How to submit form data to PHP script by using AngularJS. In modern web development, many of technology used to submit a form data to the server script. Nowadays AngularJS is one of the technique use front-end technology it will manage by Google Inc on their hosted library. Here we will handle form data submission by using AngularJS and we will make necessary field validation by using AngularJS form valid or PHP Script.</p> </div> <div class="li-post-group"> <h4 class="li-post-title">LOAD MORE DATA ON PAGE SCROLL (AJAX, PHP AND MYSQLI)</h4> <p class="li-post-desc">In this post, we will see how we can load more post details list with the help of Ajax. This technique helps us to load the page quickly. At the initial page load time have some limited post details only. Whenever the page scrolling at end of the page it trigger the ajax request to server and get and load specified list of the post details at the end of the post list container. Load more data method is very useful because the data is loaded without loading or redirecting the page.</p> </div> <div class="li-post-group"> <h4 class="li-post-title">CRUD REST API USING PHP AND MySQLi</h4> <p class="li-post-desc">In this post, we are going to learn about REST API implementation using PHP and MySQLi. A RESTful web service helps us to perform CRUD operations with MySQL database. In this post which is part of the REST API series, let us learn how to implement an easy and simple CRUD REST API using PHP and MySQLi for Create, Read, Update and Delete operations. The entire process will be handled with a help of core PHP not be using any framework as dependencies.</p> </div> <div class="li-post-group"> <h4 class="li-post-title">DISPLAY SWEET ALERT IN LARAVEL USING UXWEB/SWEET-ALERT</h4> <p class="li-post-desc">In this post, we are going to learn to show notify information with an excellent user-friendly look using sweetAlert package in laravel application. Here we are going to use uxweb/sweet-alert package for Display Sweet Alert Notifications in Laravel web application.</p> </div> <div class="li-post-group"> <h4 class="li-post-title">GENERATE A WORD DOCUMENT USING PHPWORD IN LARAVEL</h4> <p class="li-post-desc">In this post, we going to see how to generate word doc and docx file using phpword package in Laravel. Nowadays some user needs to export data into a word file for offline usages. Some of the client to give their relevant data like Terms and conditions, Private policy and Copyrights details into pdf or word document format. For this kind of purpose, it will help us to generate word file in laravel using phpoffice/phpword package.</p> </div> <div class="li-post-group"> <h4 class="li-post-title">3-DIMENSIONAL(3D) PORTFOLIO IMAGE GALLERY USING HTML & CSS</h4> <p class="li-post-desc">The Portfolio details is a very useful feature of the web page. You can establish your archived details and the works to the entire web community. It was outlined to bring in extra clients, get you selected based on this details.</p> </div> <div class="li-post-group"> <h4 class="li-post-title">GET WORDPRESS BLOG POST AND SHOW IN ANY PAGE</h4> <p class="li-post-desc">In WordPress blog, our latest posts are publicized on the home page, and older posts access with the help of post page navigation. In this post, we are going to learn how to display our WordPress blog posts on any static or dynamic page using a simplexml_load_file() method with ATOM that works to get WordPress blog post details as XML data with domain link.</p> </div> <div class="li-post-group"> <h4 class="li-post-title">YOUTUBE CHANNEL VIDEO IMPORTING USING DATA API & PHP</h4> <p class="li-post-desc">The YouTube Data API provides an easy way to access YouTube channel videos and include into our web application. The different sources package will get video details from YouTube channel using Data API. If we need to import and display YouTube video gallery on our web page means, YouTube Data API will help us to do this.</p> </div> <div class="li-post-group"> <h4 class="li-post-title">EXPORTING MYSQL DATA TO EXCEL USING PHP</h4> <p class="li-post-desc">Exporting MySQL Data into Excel is a very useful method to keep the data list in a relevant area for offline usage. Exporting data method performs your web application as most user-friendly and improves the user to manage list data in offline.</p> </div> <div class="li-post-group"> <h4 class="li-post-title">GENERATE A PDF USING TCPDF IN LARAVEL</h4> <p class="li-post-desc">In this post, we are going to know about generating PDF documents using TCPDF Package in Laravel. Most of the application needs to generate pdf documents for many reasons. It may use to produce E-Document for end user knowledge or reference. It helps to prepare Invoice bills, profile information, reports download etc.</p> </div> <div class="li-post-group"> <h4 class="li-post-title">SUGGESTION FIELD USING JQUERY, PHP AND MYSQL</h4> <p class="li-post-desc">Suggestion field using jQuery is very useful for a web application. In this post, you will learn how to perform Google-like search textbox in PHP. Using jQuery UI we can efficiently show relevant suggestion from the database under a textbox.</p> </div> <div class="li-post-group"> <h4 class="li-post-title">IMAGE TO GRAYSCALE IMAGE CONVERSION IN LARAVEL</h4> <p class="li-post-desc">In this post, I am going to share with you how to make a grayscale image from the original image in laravel. Sometimes, we may require making a grayscale image when user uploads image. The grayscale image looks better if you have a good layout website.</p> </div> <div class="li-post-group"> <h4 class="li-post-title">DELETE OPERATION IN CRUD USING PDO – PART 4</h4> <p class="li-post-desc">This post explains how to build a CRUD (Create, Read, Update, Delete) application in PHP & MySQL using PHP Data Objects (PDO). PDO is a PHP extension that implements an interface for accessing databases in PHP. PDO is compact and strong. </p> </div> </div> </div> </div> </body> </html> |


