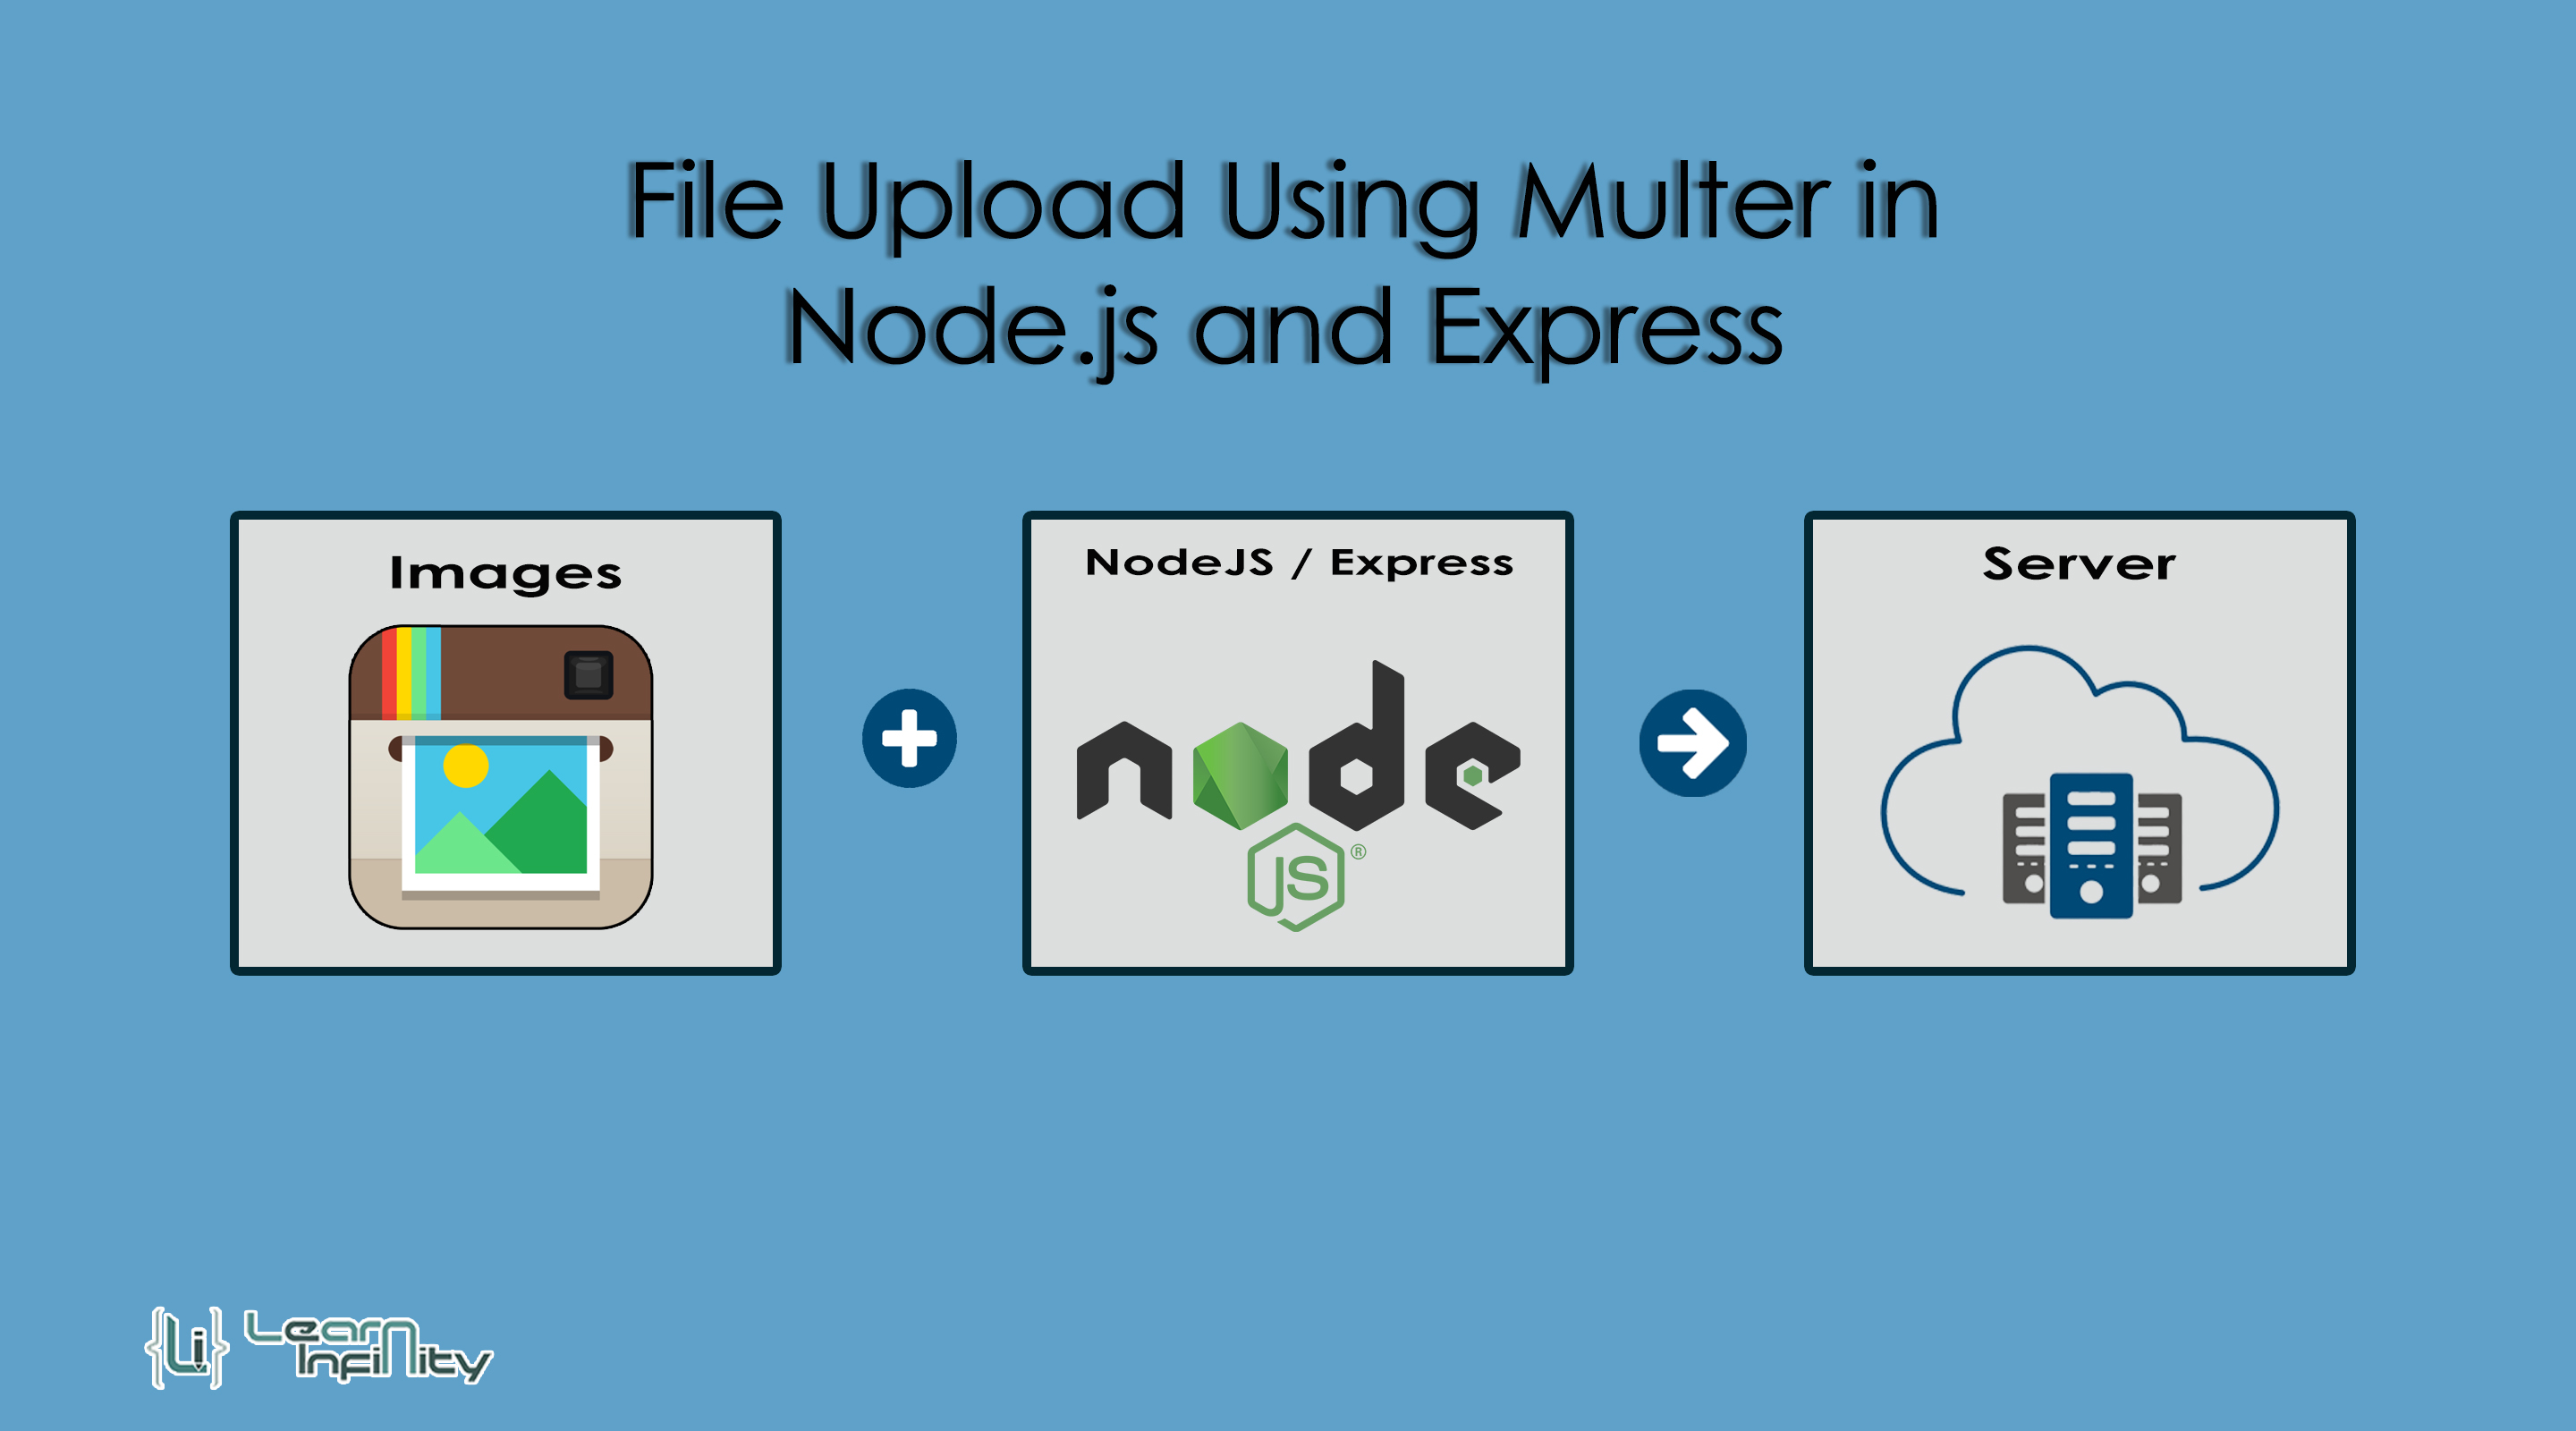
In this post, we are going to know about File Upload Using Multer in Node.js and Express and it also helps us to understand about file handling. For this process following packages are used Express, Multer, and Body-parser.
Step 1: Install nodeJs package and Init application
Initially download NodeJS and install it in your system and confirm everything configured correctly using the following command.
|
1 |
node -v |
Step 2: Create a directory and init application
Create an application folder and init the project using the following command.
|
1 2 3 4 5 |
mkdir file_upload cd file_upload npm init --yes |
|
1 2 3 4 5 6 7 8 9 10 11 12 13 14 15 16 17 18 |
{ "name": "file_upload", "version": "1.0.0", "description": "", "main": "app.js", "scripts": { "test": "echo \"Error: no test specified\" && exit 1" }, "keywords": [], "author": "", "license": "ISC", "dependencies": { "body-parser": "^1.19.0", "ejs": "^2.7.1", "express": "^4.17.1", "multer": "^1.4.2" } } |
Step 3: Install required packages using NPM
The following modules are going to be required to create the application.
- Express: Express is a least and adjustable Node.js web application framework that gives a strong collection of features for web and mobile applications. Express gives a light layer of basic web application benefits, without covering Node.js benefits that you agree and like.
- body-parser: used to parse incoming requests from the end client.
- ejs: is a templating engine and its used to render HTML pages to end client
- Multer: Multer is a Node.js middleware for managing multipart/form-data, which is essentially used to uploading files and images.
- nodemon: Optional package and Installed globally. It helps us to listen for modifications to files and automatically restart the app server.
Run the following command to install the above mention modules as dependencies for our application.
|
1 2 |
npm install --save express multer body-parser ejs npm install -g nodemon (optional - used to run app.js automatically while any file content changes) |
Step 4: Create app.js file
Create app.js server file and include the required dependency package in it for our file upload application. And define the server port and write an app server .listen() function.
Create app.js file
|
1 |
touch app.js |
include following code
|
1 2 3 4 5 6 7 8 9 10 11 |
const path = require('path'); const express = require('express'); const ejs = require('ejs'); const bodyParser = require('body-parser'); const app = express(); // Server Listening app.listen(3000, () => { console.log('Server is running at port 3000'); }); |
Run app.js using following comment
|
1 |
nodemon app (OR) npm start |
Step 5: Define View engine with ejs / public path / View files path
Here we are going to define a template view engine with ejs using set() and use() function and also define a Public path and View folder path location.
|
1 2 3 4 5 6 7 |
//set views file app.set('views',path.join(__dirname,'views')); //set view engine app.set('view engine', 'ejs'); app.use(bodyParser.json()); app.use(bodyParser.urlencoded({ extended: false })); |
Step 6: Define and configure Multer Storage
In this step, we are going to create Multer storage that states where and how the uploading files and images should be stored.
|
1 2 3 4 5 6 7 8 9 10 11 |
const multer = require('multer'); // For Multer Storage var multerStorage = multer.diskStorage({ destination: function (req, file, callback) { callback(null, path.join(__dirname,'my_uploads')); }, filename: function (req, file, callback) { callback(null, Date.now() + '_' + file.originalname); } }); |
Step 7: Define index path with ‘/’ and HTML file
Here we are going to define the HTML page with ejs extension and adding HTML content in it. We created four HTML files for file upload operation. I am going to create a file with named as file_upload.js
Index route Request handler
|
1 2 3 4 5 6 7 8 9 |
// Base index route app.get('/', function(req, res) { const uploadStatus = req.app.locals.uploadStatus; req.app.locals.uploadStatus = null; res.render('file_upload', { title : 'File Upload Using Multer in Node.js and Express', uploadStatus : uploadStatus }); }); |
For Single File upload
|
1 2 3 4 5 |
<form action="/singleFile" enctype="multipart/form-data" method="POST"> <h4 >Single Image:</h4> <input type="file" id="singleImage" name="singleImage" required> <button type="submit" class="btn btn-primary">Upload</button> </form> |
|
1 2 3 4 5 |
<form action="/multipleFile" enctype="multipart/form-data" method="POST"> <h4 for="name">Multiple Image:</h4> <input type="file" id="multipleImage" name="multipleImage" multiple required> <button type="submit" class="btn btn-primary">Upload</button> </form> |
|
1 2 3 4 5 6 7 8 9 10 11 12 13 14 15 16 17 18 19 20 21 22 23 24 25 26 27 28 29 30 31 32 33 34 35 36 37 38 39 40 41 42 43 44 45 46 47 48 49 50 51 |
<!DOCTYPE html> <html lang="en"> <head> <title><%= title %></title> <meta charset="utf-8"> <meta name="viewport" content="width=device-width, initial-scale=1"> <link rel="stylesheet" href="https://maxcdn.bootstrapcdn.com/bootstrap/4.3.1/css/bootstrap.min.css"> <script src="https://ajax.googleapis.com/ajax/libs/jquery/3.4.1/jquery.min.js"></script> <script src="https://cdnjs.cloudflare.com/ajax/libs/popper.js/1.14.7/umd/popper.min.js"></script> <script src="https://maxcdn.bootstrapcdn.com/bootstrap/4.3.1/js/bootstrap.min.js"></script> <style> .title { margin: 50px; background: #14e0e0; padding: 15px 0px; border-radius: 50px; } </style> </head> <body> <div class="container"> <h2 class="text-center title"><%= title %></h2> <% if(uploadStatus == true){ %> <label for="message" class="alert alert-success">Uploaded successfully</label> <% } %> <div class="row"> <div class="col-md-5"> <form action="/singleFile" enctype="multipart/form-data" method="POST"> <h4 >Single Image:</h4> <input type="file" id="singleImage" name="singleImage" required> <button type="submit" class="btn btn-primary">Upload</button> </form> </div> <div class="col-md-offset-1 col-md-5"> <form action="/multipleFile" enctype="multipart/form-data" method="POST"> <h4 for="name">Multiple Image:</h4> <input type="file" id="multipleImage" name="multipleImage" multiple required> <button type="submit" class="btn btn-primary">Upload</button> </form> </div> </div> <br/> <br/> </div> </body> </html> |
Step 8: Define File Upload function in app.js
Here we are going to add the Home path and define the file upload page with displaying form information in it.
|
1 2 3 4 5 6 7 8 9 10 11 12 13 |
// For Single File upload var multerSigleUpload = multer({ storage: multerStorage }); //route for single file upload app.post("/singleFile", multerSigleUpload.single('singleImage'), function(req, res) { const file = req.file if (!file) { return res.end("Please choose file to upload!"); } req.app.locals.uploadStatus = true; res.redirect('/'); }); |
|
1 2 3 4 5 6 7 8 9 10 11 12 13 14 |
// For Multiple File upload var multerMultipleUpload = multer({ storage: multerStorage }).array("multipleImage", 3); //route for multiple file upload app.post("/multipleFile", function(req, res) { multerMultipleUpload(req, res, function(err) { if (err) { return res.end("Files uploading unsucessfully!"); } req.app.locals.uploadStatus = true; res.redirect('/'); }); }); |
Step 9: Run a server and check with Browser
Here we are going to run an application with the following command to test our File upload application in a browser.
Finally app.js file code following details.
|
1 2 3 4 5 6 7 8 9 10 11 12 13 14 15 16 17 18 19 20 21 22 23 24 25 26 27 28 29 30 31 32 33 34 35 36 37 38 39 40 41 42 43 44 45 46 47 48 49 50 51 52 53 54 55 56 57 58 59 60 61 62 63 64 65 66 67 68 |
const path = require('path'); const express = require('express'); const ejs = require('ejs'); const bodyParser = require('body-parser'); const multer = require('multer'); const app = express(); //set views file app.set('views',path.join(__dirname,'views')); //set view engine app.set('view engine', 'ejs'); app.use(bodyParser.json()); app.use(bodyParser.urlencoded({ extended: false })); // For Multer Storage var multerStorage = multer.diskStorage({ destination: function (req, file, callback) { callback(null, path.join(__dirname,'my_uploads')); }, filename: function (req, file, callback) { callback(null, Date.now() + '_' + file.originalname); } }); // For Single File upload var multerSigleUpload = multer({ storage: multerStorage }); // For Multiple File upload var multerMultipleUpload = multer({ storage: multerStorage }).array("multipleImage", 3); // Base index route app.get('/', function(req, res) { const uploadStatus = req.app.locals.uploadStatus; req.app.locals.uploadStatus = null; res.render('file_upload', { title : 'File Upload Using Multer in Node.js and Express', uploadStatus : uploadStatus }); }); //route for single file upload app.post("/singleFile", multerSigleUpload.single('singleImage'), function(req, res) { const file = req.file if (!file) { return res.end("Please choose file to upload!"); } req.app.locals.uploadStatus = true; res.redirect('/'); }); //route for multiple file upload app.post("/multipleFile", function(req, res) { multerMultipleUpload(req, res, function(err) { if (err) { return res.end("Files uploading unsucessfully!"); } req.app.locals.uploadStatus = true; res.redirect('/'); }); }); // Server Listening app.listen(3000, () => { console.log('Server is running at port 3000'); }); |
Run the Application using the following command.
|
1 2 3 |
npm start (OR) nodemon app http://localhost:3000/ |
Now you are ready to see the demonstration of File Upload Using Multer in Node.js and Express.
Download Git Repository


