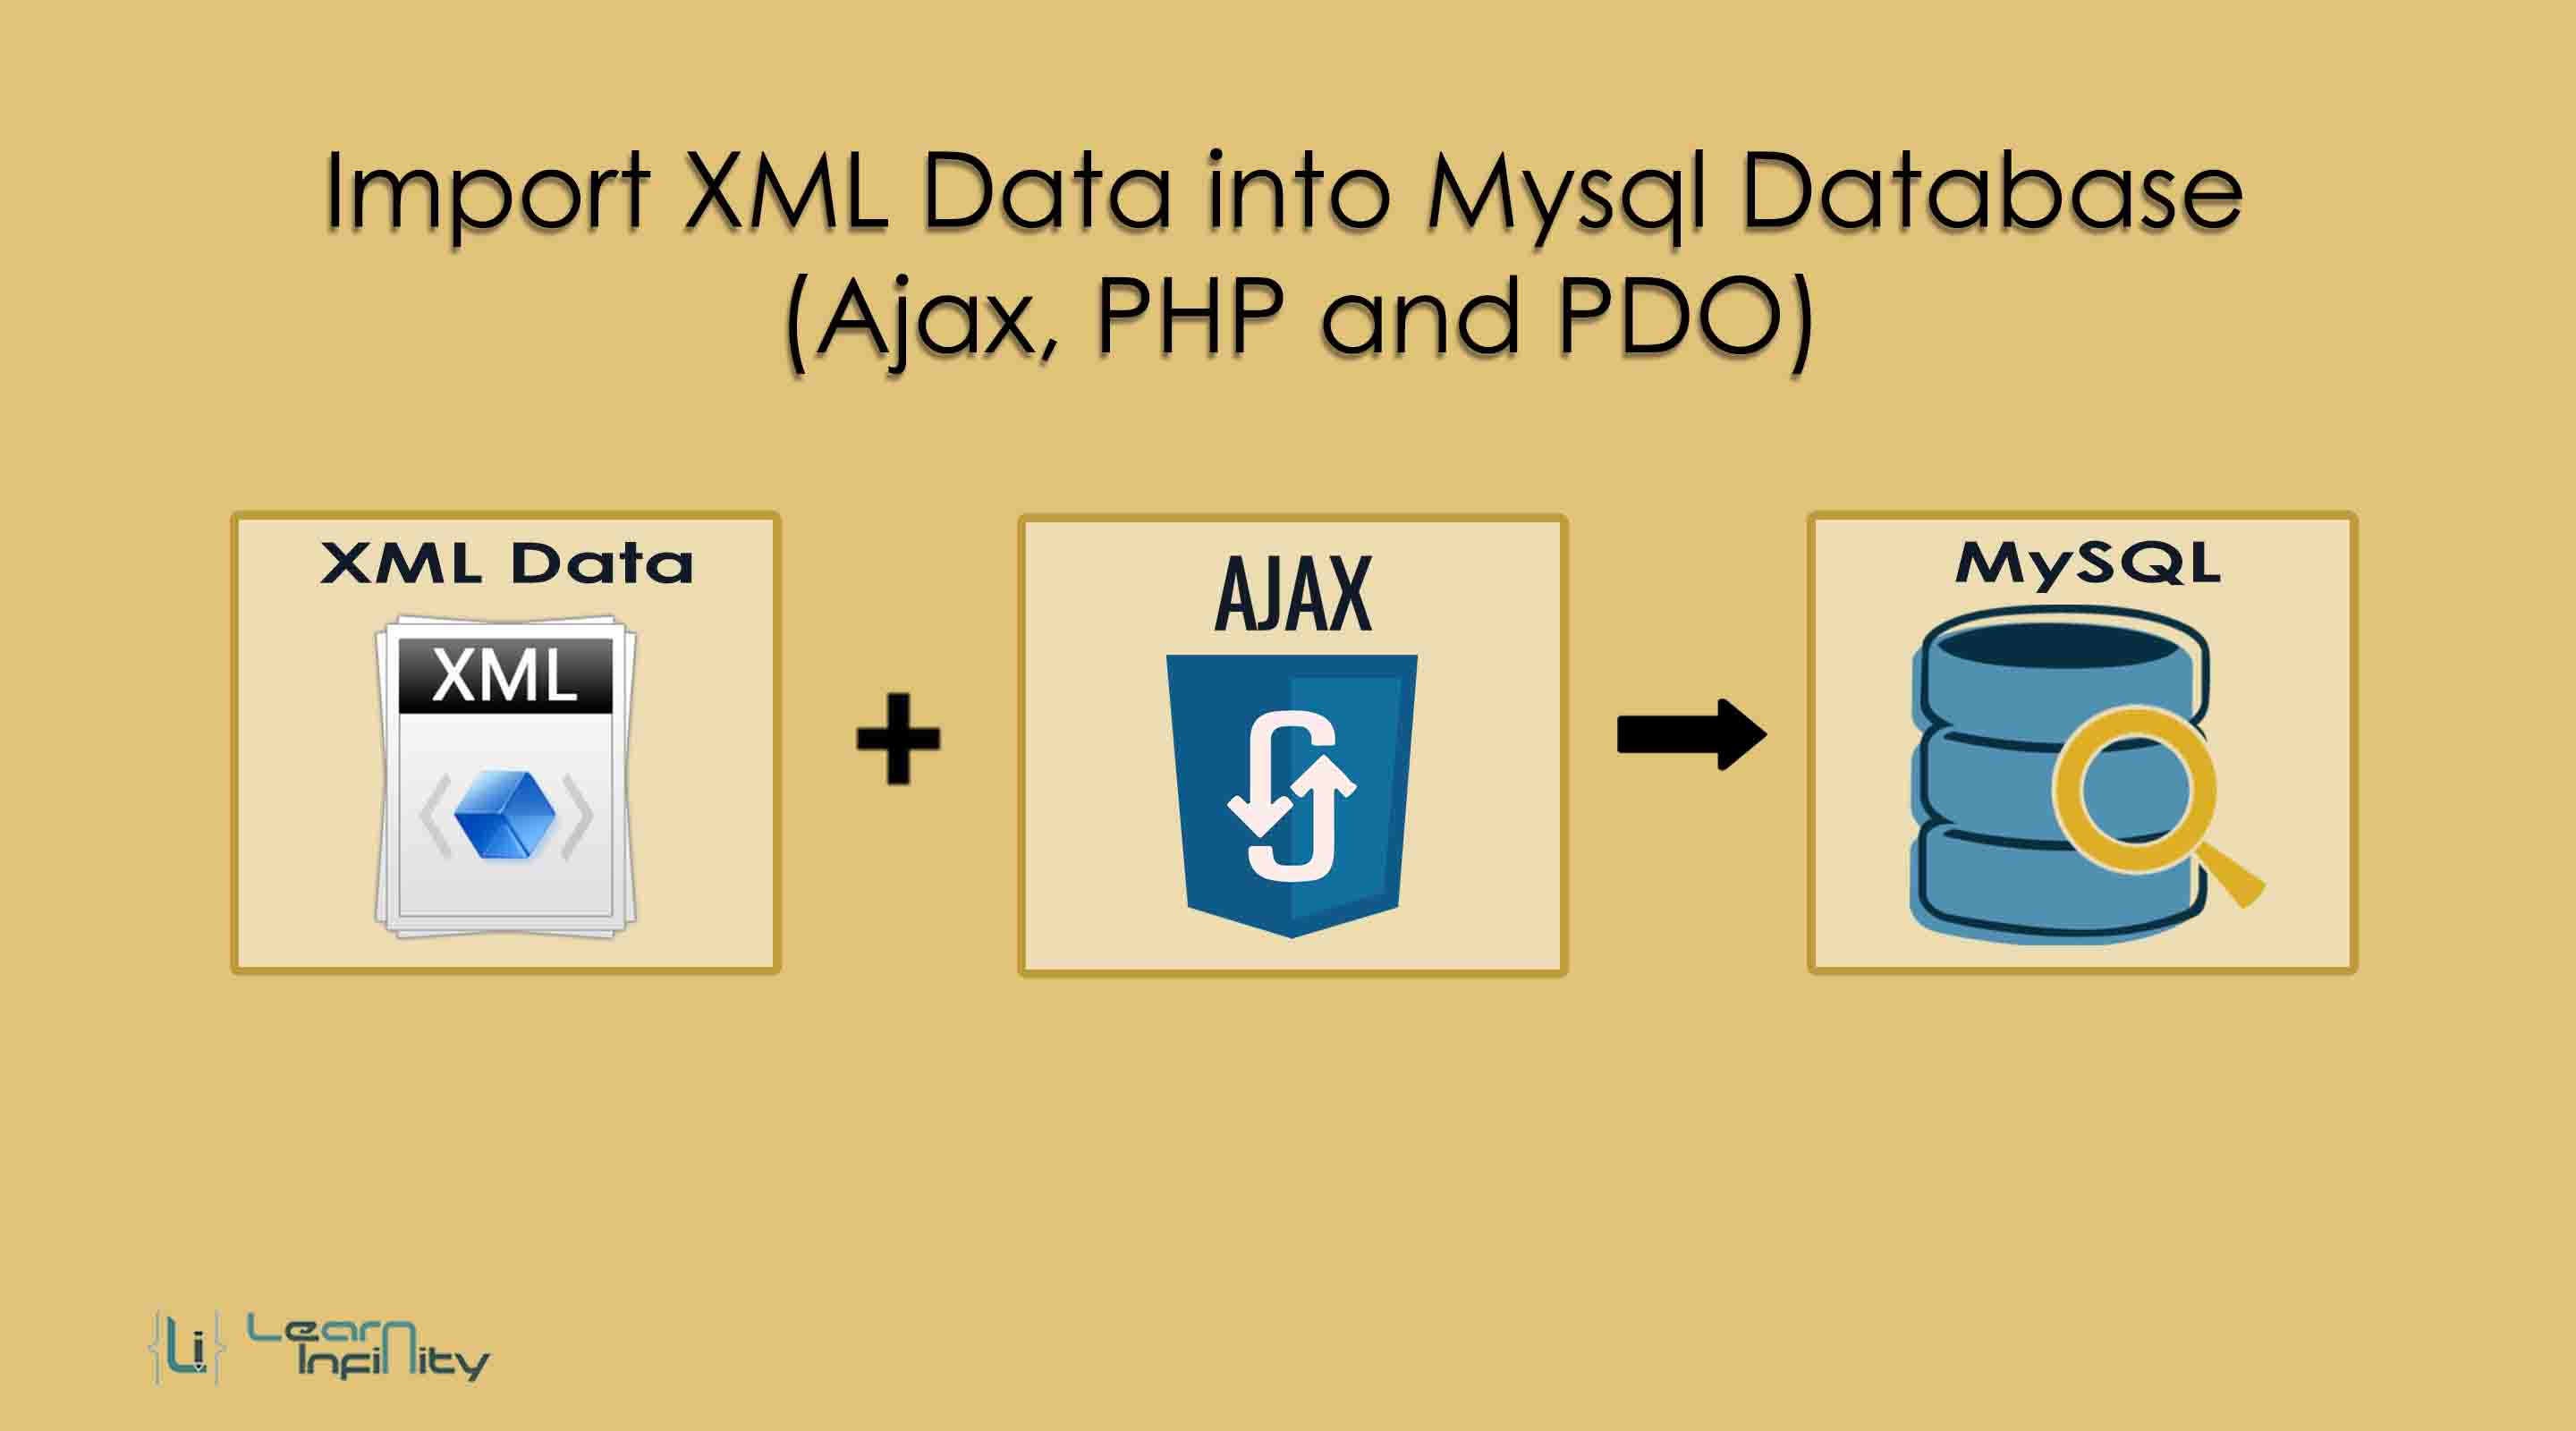
In this article, we are going to know how to Import XML Data into Mysql Database table by using PHP code with Ajax. We all know XML stands for eXtensible Markup Language and it is used for to save and read data on the web and this data readable format for human and machine also. This type of data essentially handled for transfer data from one platform to another platform on the internet and it is also compatible with all programming language.
We can define XML data as very easy by user-defined tag format with a data value and it contains both opening and closing tag as the same name. For example <my-tag></my-tag> this is the format for a user-defined custom tag with an XML file.
For Import or Insert XML file data into MySQL database table, so we create a simple form for uploading XML file to the server and here we have some file format validation for upload only XML file. After creating HTML form content we want to pass XML file to the server, so here we use jQuery Ajax request to the server for further import process using PHP. In Ajax, we use FormData() for submitting the form data into server-side script page. In server-side script we use simplexml_load_file() method to read data from selected XML file and pass into our MySQL database one by one.
Step 1: Database and Connect Details
Here we going to get contention with MySQL database using PHP with PDO contention property. Using this contention object we can process the Importing XML data to MySQL database table.
|
1 2 3 4 5 6 7 |
CREATE TABLE `li_ajax_post_load` ( `post_id` int(11) NOT NULL, `post_title` varchar(250) NOT NULL, `post_desc` text NOT NULL, `status` int(11) NOT NULL, PRIMARY KEY (`post_id`) ) ENGINE=InnoDB DEFAULT CHARSET=latin1; |
and connection object,
|
1 2 3 4 5 6 7 |
<?php $DB_host = 'localhost'; $DB_username = 'root'; $DB_password = ''; $DB_name = 'li_php_demo'; $pdo_conn = new PDO( 'mysql:host='.$DB_host.';dbname='.$DB_name, $DB_username, $DB_password ); ?> |
Step 2: Make HTML page
Here we are going to make a user view page with the file choose input and upload button.
|
1 2 3 4 5 6 7 8 9 10 11 12 13 14 15 16 17 18 19 20 21 22 23 24 25 26 |
<div class="form-group"> <div class="progress"> <div class="progress-bar progress-bar-primary file-progress" role="progressbar" style="width:0%">0%</div> </div> <div class="alert icon-alert with-arrow alert-success form-alter" role="alert"> <i class="fa fa-fw fa-check-circle"></i> <strong> Success ! </strong> <span class="success-message"> </span> </div> <div class="alert icon-alert with-arrow alert-danger form-alter" role="alert"> <i class="fa fa-fw fa-times-circle"></i> <strong> Note !</strong> <span class="warning-message"> </span> </div> </div> <form method="post" id="import_xml" enctype="multipart/form-data"> <div class="form-group"> <label>Choose XML Data File</label> <input type="file" name="xml_data" id="xml_data" required /> </div> <br /> <div class="form-group"> <button type="submit" name="btn-submit" id="btn-submit" class="btn btn-success" >Import XML Data</button> </div> </form> |
Step 3: Defile Ajax Script
In this part, we need to define a jQuery function to perform file upload operation with a progress bar notification. It will trigger when a user clicks a upload button call to the server, it contains file import procedure with validation error information and file upload status data response with JSON format and displays an HTML page for user reference.
|
1 2 3 4 5 6 7 8 9 10 11 12 13 14 15 16 17 18 19 20 21 22 23 24 25 26 27 28 29 30 31 32 33 34 35 36 37 38 39 40 41 42 43 44 45 46 47 48 49 50 |
$('#import_xml').on('submit', function(e){ e.preventDefault(); $.ajax({ url:"ajax_upload.php", method:"POST", data: new FormData(this), contentType:false, cache:false, dataType: "json", processData:false, beforeSend:function(){ $('.progress, .progress-bar').show(); $('.file-progress').text('0%'); $('.file-progress').css('width', '0%'); $('#btn-submit').attr('disabled','disabled'), $('#btn-submit').html(' <i class="fa fa-spinner fa-pulse fa-fw"></i> Processing...'); }, xhr: function () { var xhr = new window.XMLHttpRequest(); xhr.upload.addEventListener("progress", function (evt) { if (evt.lengthComputable) { var percentComplete = evt.loaded / evt.total; percentComplete = parseInt(percentComplete * 100); $('.file-progress').text(percentComplete + '%'); $('.file-progress').css('width', percentComplete + '%'); } }, false); return xhr; }, success:function(data){ console.log(data); if(data['status'] == "200"){ $('.alert-danger').hide(); $('.alert-success').show(); $('.success-message').html(data['message']); }else{ $('.alert-success').hide(); $('.alert-danger').show(); $('.warning-message').html(data['message']); } $('#import_xml')[0].reset(); $('#btn-submit').attr('disabled', false); $('#btn-submit').html('Import XML Data'); } }); }); |
Step 4: PHP script to filter data
Here we define a what procedures need to happen while user hit request to the server-side page. It contains file import procedure with validation error information and file upload status data response with JSON format and displays an HTML page for user reference. In server-side script we use simplexml_load_file() method to read data from selected XML file and pass into our MySQL database one by one.
|
1 2 3 4 5 6 7 8 9 10 11 12 13 14 15 16 17 18 19 20 21 22 23 24 25 26 27 28 29 30 31 32 33 34 35 36 37 38 39 40 41 42 43 44 45 46 47 48 49 50 51 52 53 54 |
<?php require_once('./include/pdo_connect.php'); $resultData = []; if(isset($_FILES['xml_data']['name']) && $_FILES['xml_data']['name'] != '') { $accept_ext = array('xml'); $file_data = explode('.', $_FILES['xml_data']['name']); $file_ext = end($file_data); if(in_array($file_ext, $accept_ext)) { $xml_data = simplexml_load_file($_FILES['xml_data']['tmp_name']); echo $xml_data; $query = "INSERT INTO li_ajax_post_load (post_title, post_desc, status) VALUES(:title, :description, :status);"; $statement = $pdo_conn->prepare($query); for($i = 0; $i < count($xml_data); $i++) { $result = $statement->execute([ ':title' => $xml_data->post[$i]->title, ':description' => $xml_data->post[$i]->description, ':status' => $xml_data->post[$i]->status ]); //echo json_encode($result); if(!$result) { $resultData['status'] = '400'; $resultData['message'] = 'XML file have invalid data or conntion error'; echo json_encode($resultData); exit; } } $resultData['status'] = '200'; $resultData['message'] = 'XML Data Imported Successfully'; } else { $resultData['status'] = '400'; $resultData['message'] = 'Not a Valid File Format'; } } else { $resultData['status'] = '400'; $resultData['message'] = 'Please Choose XML File'; } echo json_encode($resultData); ?> |
Step 5: XML data file content
We can define XML data as very easy by user-defined tag format with a data value and it contains both opening and closing tag as the same name. For example <my-tag></my-tag> this is the format for a user-defined custom tag with an XML file. This file contains posts list with many individual post details content each and every post details had a title, description, and status tag information.
|
1 2 3 4 5 6 7 8 9 10 11 12 13 14 15 16 17 18 19 20 21 22 23 24 25 26 27 28 29 30 31 32 33 34 35 36 37 38 39 40 41 42 43 44 45 46 47 48 49 50 51 52 53 54 55 56 57 58 59 60 61 62 63 64 65 66 67 68 69 |
<posts> <post> <title>GENERATE A WORD DOCUMENT USING PHPWORD IN LARAVEL</title> <description>In this post, we going to see how to generate word doc and docx file using phpword package in Laravel. Nowadays some user needs to export data into a word file for offline usages.</description> <status>0</status> </post> <post> <title>Display Sweet Alert in Laravel using uxweb/sweet-alert</title> <description>In this post, we are going to learn to show notify information with an excellent user-friendly look using sweetAlert package in laravel application. Here we are going to use uxweb/sweet-alert package for Display Sweet Alert Notifications in Laravel web application.</description> <status>0</status> </post> <post> <title>LOAD MORE DATA ON PAGE SCROLL (AJAX, PHP AND MYSQLI)</title> <description>In this post, we will see how we can load more post details list with the help of Ajax. This technique helps us to load the page quickly. At the initial page load time have some limited post details only.</description> <status>0</status> </post> <post> <title>CRUD REST API USING PHP AND MySQLi</title> <description>In this post, we are going to learn about REST API implementation using PHP and MySQLi. A RESTful web service helps us to perform CRUD operations with MySQL database. In this post which is part of the REST API series, let us learn how to implement an easy and simple CRUD REST API using PHP and MySQLi for Create, Read, Update and Delete operations. The entire process will be handled with a help of core PHP not be using any framework as dependencies.</description> <status>0</status> </post> <post> <title>DISPLAY SWEET ALERT IN LARAVEL USING UXWEB/SWEET-ALERT</title> <description>In this post, we are going to learn to show notify information with an excellent user-friendly look using sweetAlert package in laravel application. Here we are going to use uxweb/sweet-alert package for Display Sweet Alert Notifications in Laravel web application.</description> <status>0</status> </post> <post> <title>GENERATE A WORD DOCUMENT USING PHPWORD IN LARAVEL</title> <description>In this post, we going to see how to generate word doc and docx file using phpword package in Laravel. Nowadays some user needs to export data into a word file for offline usages. Some of the client to give their relevant data like Terms and conditions, Private policy and Copyrights details into pdf or word document format. For this kind of purpose, it will help us to generate word file in laravel using phpoffice/phpword package.</description> <status>0</status> </post> <post> <title>3-DIMENSIONAL(3D) PORTFOLIO IMAGE GALLERY USING HTML and CSS</title> <description>The Portfolio details is a very useful feature of the web page. You can establish your archived details and the works to the entire web community. It was outlined to bring in extra clients, get you selected based on this details.</description> <status>0</status> </post> <post> <title>GET WORDPRESS BLOG POST AND SHOW IN ANY PAGE</title> <description>In WordPress blog, our latest posts are publicized on the home page, and older posts access with the help of post page navigation. In this post, we are going to learn how to display our WordPress blog posts on any static or dynamic page using a simplexml_load_file() method with ATOM that works to get WordPress blog post details as XML data with domain link.</description> <status>0</status> </post> <post> <title>YOUTUBE CHANNEL VIDEO IMPORTING USING DATA API and PHP</title> <description>The YouTube Data API provides an easy way to access YouTube channel videos and include into our web application. The different sources package will get video details from YouTube channel using Data API. If we need to import and display YouTube video gallery on our web page means, YouTube Data API will help us to do this.</description> <status>0</status> </post> <post> <title>EXPORTING MYSQL DATA TO EXCEL USING PHP</title> <description>Exporting MySQL Data into Excel is a very useful method to keep the data list in a relevant area for offline usage. Exporting data method performs your web application as most user-friendly and improves the user to manage list data in offline.</description> <status>0</status> </post> <post> <title>GENERATE A PDF USING TCPDF IN LARAVEL</title> <description>In this post, we are going to know about generating PDF documents using TCPDF Package in Laravel. Most of the application needs to generate pdf documents for many reasons. It may use to produce E-Document for end user knowledge or reference. It helps to prepare Invoice bills, profile information, reports download etc.</description> <status>0</status> </post> </posts> |


