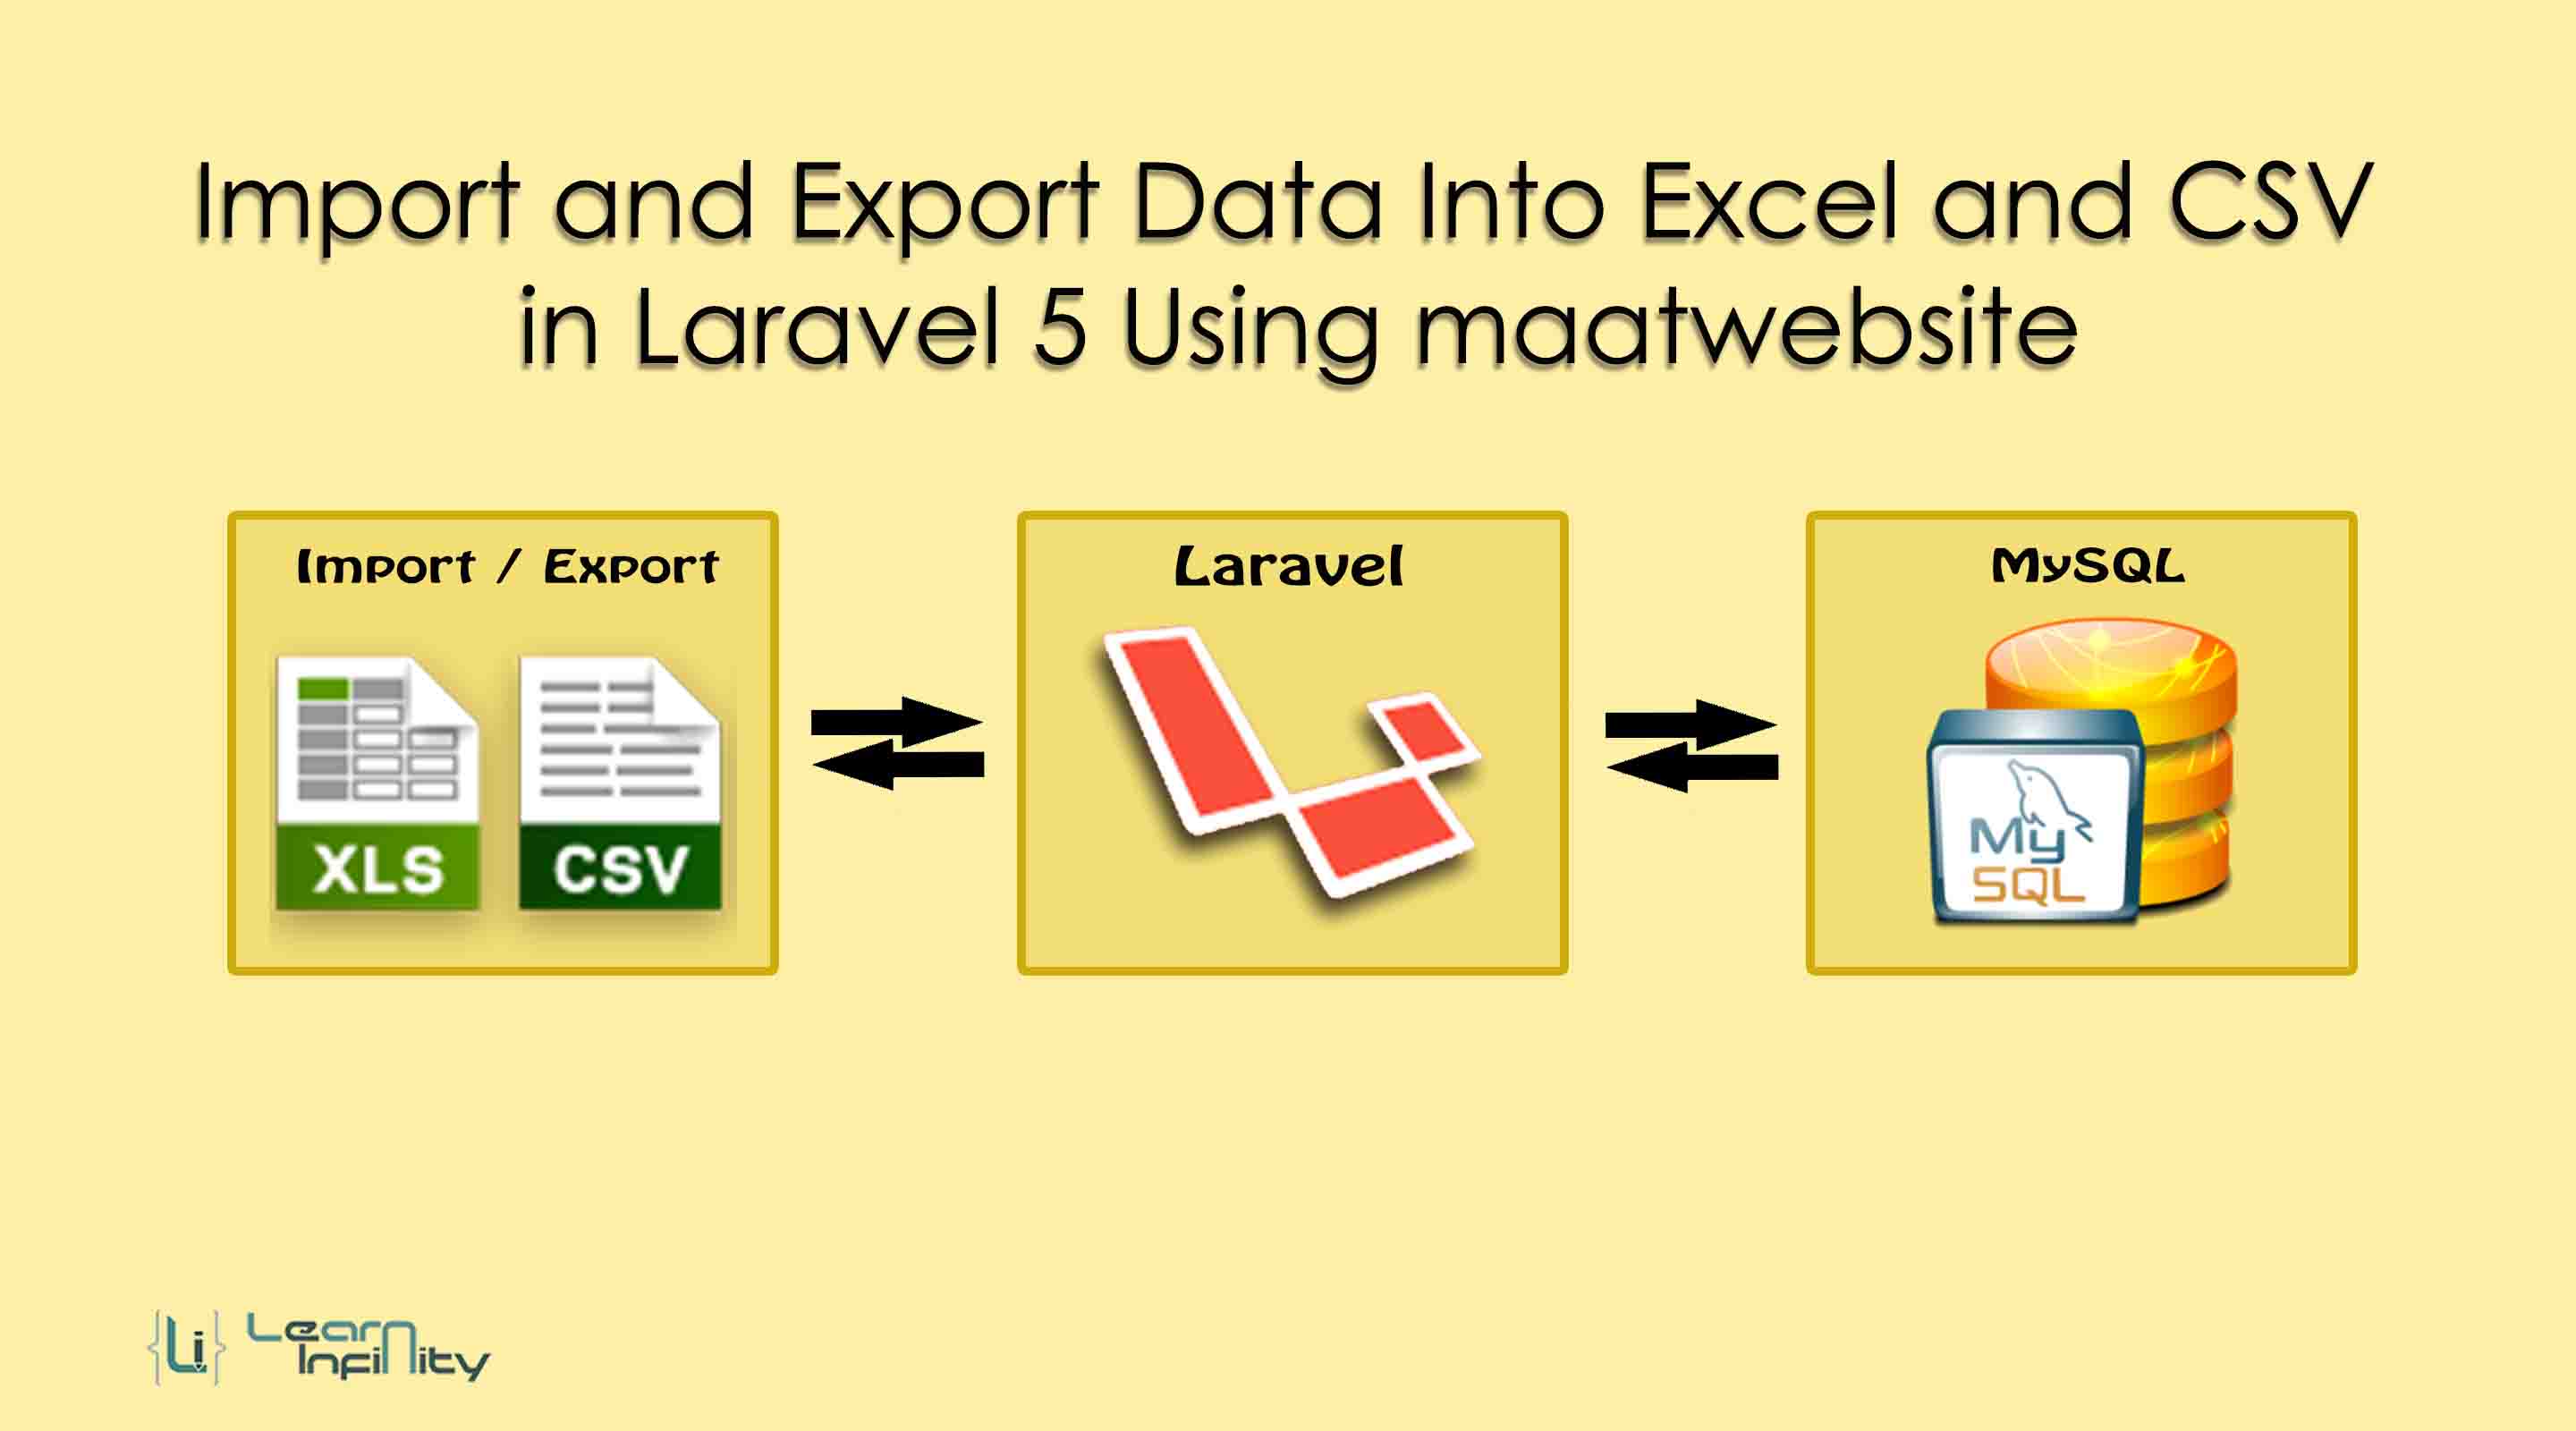

In this post, we are going to learn about how to Import and Export Excel and CSV using Laravel 5 Using maatwebsite. Here I give a tutorial for import data from Excel & CSV into a database and also exporting data to Excel & CSV from a database using Laravel maatwebsite package. Laravel maatwebsite package helps us to do this process as a very simplified method.
This package was very familiar and most popular to generate Excel and CSV file with dynamic datasets. As well as it contains Excel and CSV file data importing process also. Here, I am going to present you a short and simple model of import-export data using Excel and CSV with a help of maatwebsite laravel package.Step 1: Install Laravel
Here, we need new Laravel application for API passport implementation and demonstration. the following command helps to create a new application.
|
1 |
composer create-project --prefer-dist laravel/laravel myLaravel |
Step 2: Install Composer Package
In this step, we have to download and install laravel maatwebsite package for use to import-export data using Excel and CSV. So just run following command to download and install package.
|
1 |
composer require maatwebsite/excel |
Step 3: Application configuration
After successfully installed the package then we should update the application config details to use the package in our application. Here we need to update providers & aliases array details with following details
|
1 2 3 4 5 6 7 8 9 10 11 |
'providers' => [ .... .... Maatwebsite\Excel\ExcelServiceProvider::class, ], 'aliases' => [ .... .... 'Excel' => Maatwebsite\Excel\Facades\Excel::class, ], |
Step 4: Create Model, Controller, and Migration
Here, we want to create a migration for products table using Laravel 5.5 php artisan command, So run the bellow command:
|
1 |
php artisan make:model Product -mc |
Above command, help us to create Model, Controller, and Migration for Product master. In migration table file, we need to add the required no of columns details for product table like name, description, and price etc.
|
1 2 3 4 5 6 7 8 9 10 11 12 13 14 15 16 17 18 19 20 21 22 23 24 25 26 27 28 29 30 31 32 33 34 |
<?php use Illuminate\Support\Facades\Schema; use Illuminate\Database\Schema\Blueprint; use Illuminate\Database\Migrations\Migration; class CreateProductsTable extends Migration { /** * Run the migrations. * * @return void */ public function up() { Schema::create('products', function (Blueprint $table) { $table->increments('id'); $table->string('name'); $table->text('description'); $table->float('price'); $table->timestamps(); }); } /** * Reverse the migrations. * * @return void */ public function down() { Schema::dropIfExists('products'); } } |
Then we need to go and update the Product model file in our application like fillable, primary key, product, etc. Product model files present at app/Product.php path and just update with following details in it.
|
1 2 3 4 5 6 7 8 9 10 11 12 |
<?php namespace App; use Illuminate\Database\Eloquent\Model; class Product extends Model { protected $fillable = [ 'name', 'description', 'price', ]; } |
Step 5: Routes Definition
In the fifth step, we want to add new routes for import and export data using Excel and CSV. So just goto routes/web.php file and update the following routes to access import and export operation in our application.
|
1 2 3 |
Route::get('product-list', 'ProductController@list')->name('product.list'); Route::post('product-import', 'ProductController@productsImport')->name('product.import'); Route::get('product-export/{type}', 'ProductController@productsExport')->name('product.export'); |
Step 6: Create Controller with Methods
On this step, we want to make a new controller for Import and Export operations in laravel application. After creating a controller file we need to define a methods and handling function in it.
|
1 2 3 4 5 6 7 8 9 10 11 12 13 14 15 16 17 18 19 20 21 22 23 24 25 26 27 28 29 30 31 32 33 34 35 36 37 38 39 40 41 42 43 44 45 46 47 48 49 50 |
<?php namespace App\Http\Controllers; use Illuminate\Http\Request; use Illuminate\Support\Facades\Redirect; use App\Product; use Excel; class ProductController extends Controller { public function list(){ $products = Product::get(); return view('products', compact('products')); } public function productsImport(Request $request){ if($request->hasFile('products')){ $path = $request->file('products')->getRealPath(); $data = \Excel::load($path)->get(); if($data->count()){ foreach ($data as $key => $value) { //print_r($value); $product_list[] = ['name' => $value->name, 'description' => $value->description, 'price' => $value->price]; } if(!empty($product_list)){ Product::insert($product_list); \Session::flash('success','File improted successfully.'); } } }else{ \Session::flash('warnning','There is no file to import'); } return Redirect::back(); } public function productsExport($type){ $products = Product::select('name','description','price')->get()->toArray(); return \Excel::create('Products', function($excel) use ($products) { $excel->sheet('Product Details', function($sheet) use ($products) { $sheet->fromArray($products); }); })->download($type); } } |
Step 7: Blade File Defining
In the final step, we make a blade file with file importing form with submitting button and Export table data. Following code help us to do Import and Export Excel and CSV file in laravel application using maatwebsite package.
|
1 2 3 4 5 6 7 8 9 10 11 12 13 14 15 16 17 18 19 20 21 22 23 24 25 26 27 28 29 30 31 32 33 34 35 36 37 38 39 40 41 42 43 44 45 46 47 48 49 50 51 52 53 54 55 56 57 58 59 60 61 62 63 64 65 66 67 |
@extends('layouts.app') @section('content') <div class="container"> <div class="panel panel-primary"> <div class="panel-heading">Import and Export Data Into Excel and CSV in Laravel 5 Using maatwebsite</div> <div class="panel-body"> {!! Form::open(array('route' => 'product.import','method'=>'POST','files'=>'true')) !!} <div class="row"> <div class="col-xs-10 col-sm-10 col-md-10"> @if (Session::has('success')) <div class="alert alert-success">{{ Session::get('success') }}</div> @elseif (Session::has('warnning')) <div class="alert alert-warnning">{{ Session::get('warnning') }}</div> @endif <div class="form-group"> {!! Form::label('sample_file','Select File to Import:',['class'=>'col-md-3']) !!} <div class="col-md-9"> {!! Form::file('products', array('class' => 'form-control')) !!} {!! $errors->first('products', '<p class="alert alert-danger">:message</p>') !!} </div> </div> </div> <div class="col-xs-2 col-sm-2 col-md-2 text-center"> {!! Form::submit('Upload',['class'=>'btn btn-success']) !!} </div> </div> {!! Form::close() !!} <div class="row"> <div class="col-xs-12 col-sm-12 col-md-12"> <br/><Br/> <a href="{{ route('product.export',['type'=>'xls']) }}" class="btn btn-primary" style="margin-right: 15px;">Download - Excel xls</a> <a href="{{ route('product.export',['type'=>'xlsx']) }}" class="btn btn-primary" style="margin-right: 15px;">Download - Excel xlsx</a> <a href="{{ route('product.export',['type'=>'csv']) }}" class="btn btn-primary" style="margin-right: 15px;">Download - CSV</a> <br/><Br/> <table width="100%" border="1" cellpadding="10"> <tr> <th>Name</th> <th>Description</th> <th width="10%">Price</th> </tr> @foreach($products as $product) <tr> <td>{{$product->name}}</td> <td>{{$product->description}}</td> <td>{{$product->price}}</td> </tr> @endforeach </table> </div> </div> </div> </div> </div> @endsection |
Now you are ready to see the demonstration of Import and export Excel and CSV file using laravel.