Proficient looking letterhead is an essential detail in relating with accomplices, different associations and customers – both potential and current. It is an imperative piece of your marking, and past its visual interest, letterheads can likewise be dealt with as lawfully restricting records. Correspondence on paper engraved with your official letterhead is perceived by the beneficiary as legitimate by principles of law and business. Normally, letterhead contains your organization’s name, logo, address and other contact points of interest.
Organizations don’t generally have the assets to have an expert, for example, a visual originator, make their letterhead. If so, you can use Microsoft Word to outline a slick, proficient looking letterhead. You can likewise spare your letterhead outline as a format for reuse.
This is a short instructional exercise on the most proficient method to plan custom letterhead utilizing only the devices that Microsoft Word offers. Before you start making your letterhead, scribble down a rundown of all the data you might want to incorporate. You will likewise need to put a high determination record (ideally 300 DPI) of your logo some place on your hard drive.
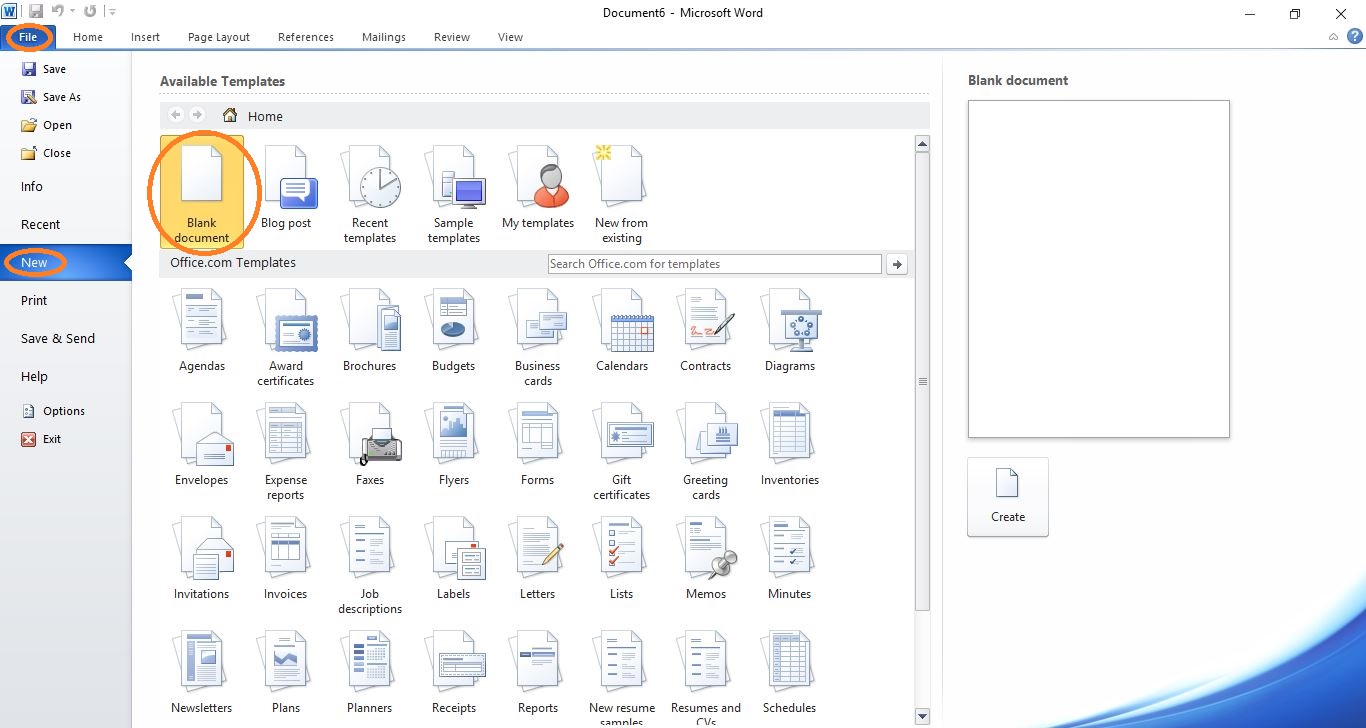
Step 1: Press Windows + R key and type winword to open the application. Usually word creates a new document when the program is opened. If you are not looking at a new document, click on File -> New -> Blank Document from the menu.
Step 2: The document should automatically open to a Letter format 8.5″x11″. If it doesn’t go to Page Layout -> Size and pick the required size of your letterhead.
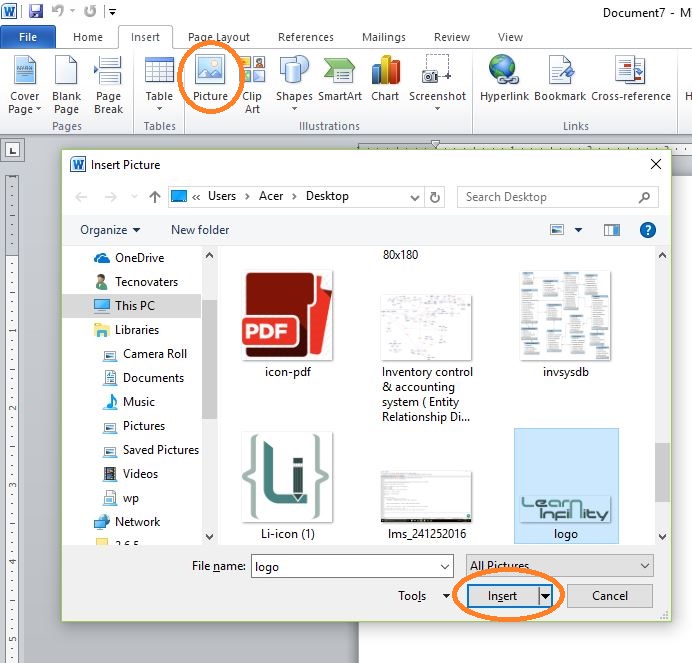
Step 3: Next go to the Insert tab -> Picture -> choose your file -> Insert
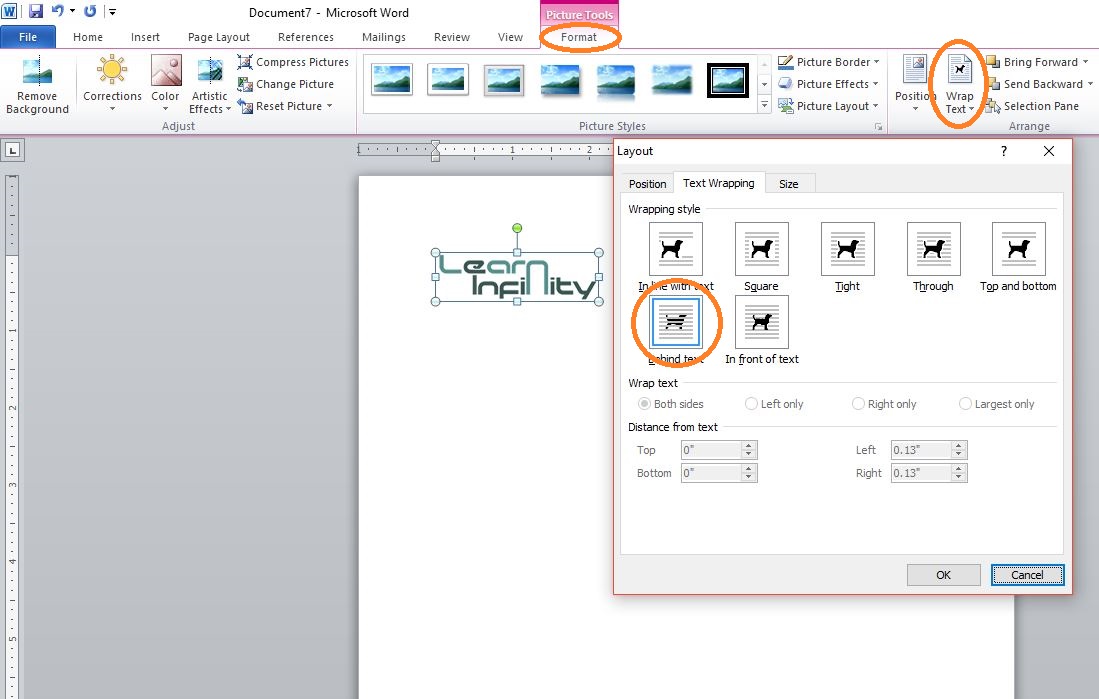
Step 4: While the logo image is selected then click on the Format tab -> Text Wrap -> More Layout Options (3 tabs will come up). Under the Text Wrapping tab -> click Behind Text -> OK
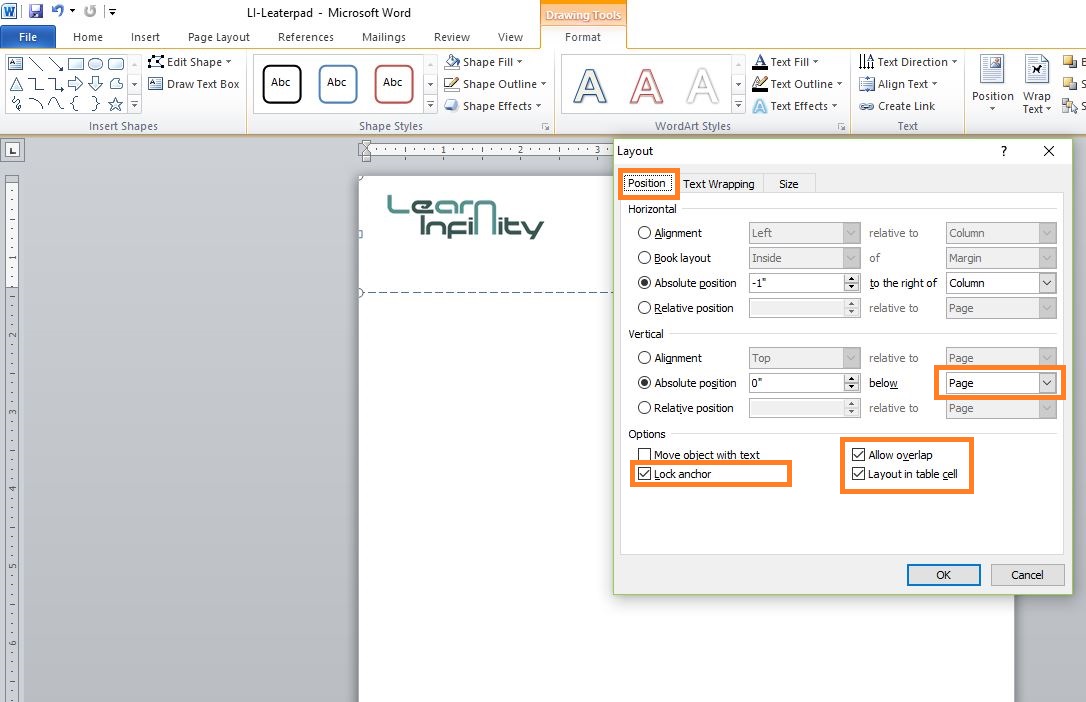
Under the Position tab, make sure you have the Lock anchor box checked, this will lock your image in within place.
* Follow the above steps for all images you include
Step 5: Next, go to Insert tab > Text Box > Draw Text Box. Then pull the mouse to whatever size you would like the text box to be.
Step 6: Then click inside the text box and type in your text like address, email and website details. Adjust the color and font respectively. At this point there may be a frame around the text box, to get discarded of this click on the text box > click on the Format tab > Shape Outline > No Outline. You also may want to make sure your text box has no fill by clicking on Shape Fill > No Fill
In Text Wrapping tab > click Behind Text >OK, Following the Position tab, make sure you have the Lock anchor box checked, this will lock your text in place.
Step 7: Now that you have included your logo(s) and text details, you may want to get even more creative and add a shape or line as a design element. Click on Insert tab -> Shape -> Pick your desired shape (or line). Then pull the mouse to whatever dimension you would like the shape to be. To select the color and frame. Click on the Format tab -> Shape Outline -> Choose the color or choose No Outline. To change the fill color, click on Shape Fill -> Choose the color or choose No Fill
Following the Text Wrapping tab -> click Behind Text >OK
Step 8: The final step before saving your document is setting up your margins. Click on the Page Layout tab -> Margins -> Custom (if necessary) -> choose your
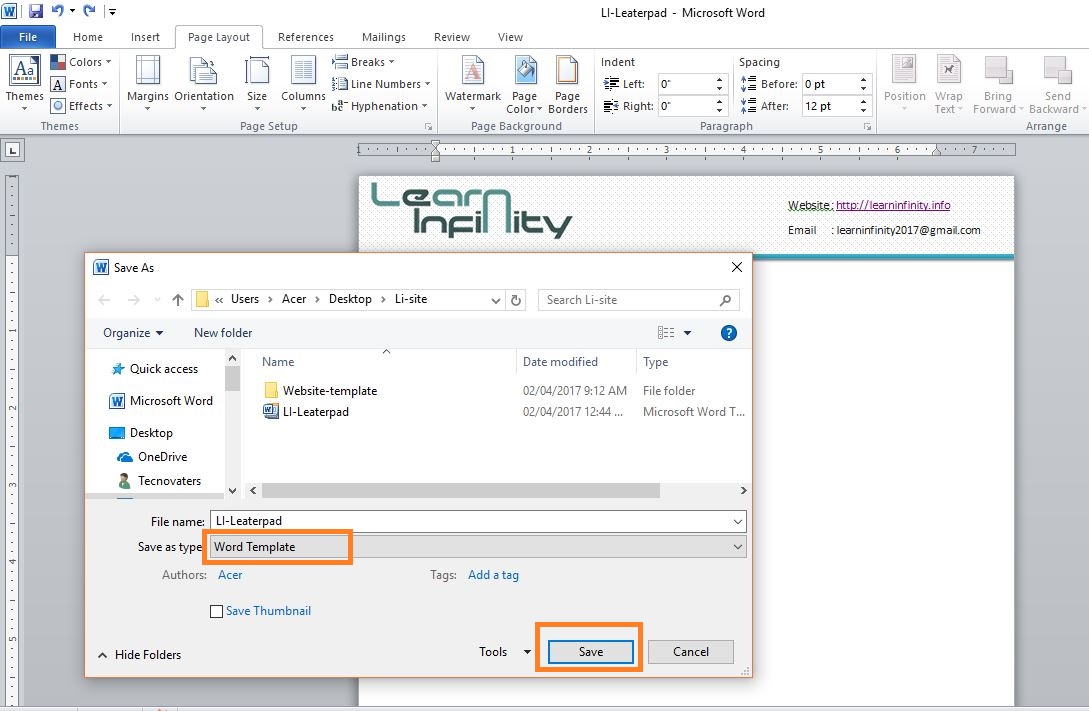
Step 9 : Finally, save your document as a Word Template and it is ready for usage your business information.
Final Template View:


