We generally need to do pictures transferring in our laravel application, In this post, I give you case code of how to transfer different pictures utilizing dropzone.js. dropzone.js through we can make picture transferring basically.
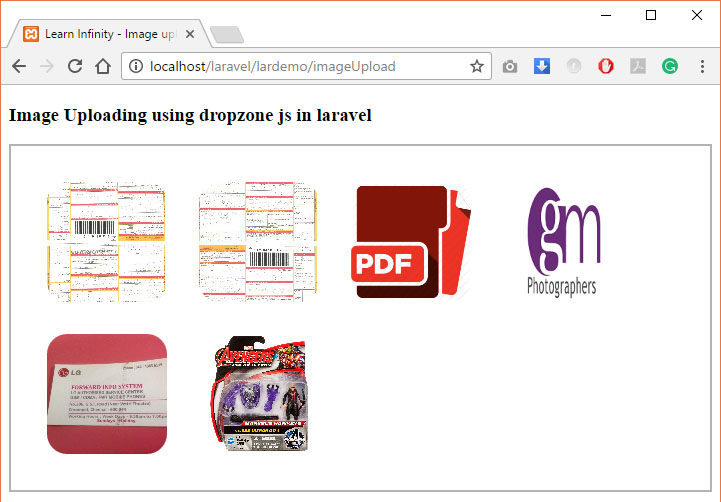
Dropzone.js is a jquery module, through this we can choose one or many picture and furthermore with see. After pick picture, we can see the review of the picture.
In this example, I create two routes, one for display view and another for store image. I also create two methods on ImageController and one blade file with dropzone plugin js and CSS that way we can display layout. You can implement in your laravel application by following few step.
Procedure 1 : Add Controller Method
In this step, we will add two methods on ImageController that way we can handle two routes with image upload view and image upload code. So, if you haven’t created ImageController then create new as bellow, or add two methods.
Location : <root_path>/app/Http/Controllers/ImageController.php
If you want to create controller, then use following command
|
1 |
php artisan make:controller ImageController |
Following content in ImageController.php
|
1 2 3 4 5 6 7 8 9 10 11 12 13 14 15 16 17 18 19 20 21 22 23 24 25 26 27 28 29 30 31 32 33 34 |
<?php namespace App\Http\Controllers; use Illuminate\Http\Request; use App\Http\Requests; use App\Http\Controllers\Controller; use File; class ImageController extends Controller { /** * Generate Image upload view page */ public function index(){ return view('imageUpload'); } /** * Upload Image file to folder */ public function uploadFiles(Request $request) { if($request->hasFile('file')) { $imageFile = $request->file('file'); $imageName = uniqid().$imageFile->getClientOriginalName(); $imageFile->move(public_path('uploads'), $imageName); } return response()->json(['Status'=>true, 'Message'=>'Image(s) Uploaded.']); } } |
Before that also you have to create new uploads folder in your public directory for saving image into over application.
Step 2: Add Blade File
At last step, we have to create uploadImages.blade.php file in your resources directory. This file contains the code of image uploading using dropzone.js, so let’s create new blade file and put bellow code:
Location : <root path>/resources/views/uploadImages.blade.php
Following content in uploadImages.blade.php
|
1 2 3 4 5 6 7 8 9 10 11 12 13 14 15 16 |
<!DOCTYPE html> <html> <head> <title>Learn Infinity - Image uploading using dropzone js in laravel</title> <script type="text/javascript" src="https://cdnjs.cloudflare.com/ajax/libs/dropzone/4.3.0/dropzone.js"></script> <link rel="stylesheet" type="text/css" href="https://cdnjs.cloudflare.com/ajax/libs/dropzone/4.3.0/dropzone.css"> </head> <body> <h3>Image Uploading using dropzone js in laravel</h3> {{ Form::open(array('url' => 'imageUpload', 'method' => 'PUT', 'name'=>'product_images', 'id'=>'myImageDropzone', 'class'=>'dropzone', 'files' => true)) }} {{ Form::close() }} </body> </html> |
Step 3: Add Route(s)
In the final step, we want to add two new routes, one for index display view and another for upload images in our routes.php file. So, open your route file and add bellow two new routes.
Location : <root path>/app/Http/routes.php
Following content in routes.php
|
1 2 |
Route::get('imageUpload', ['as'=>'imageUpload', 'uses'=>'ImageController@index']); Route::put('imageUpload', ['as'=>'imageUploadFile', 'uses'=>'ImageController@uploadFiles']); |
All required details and created now we need to run the application the application path in browser. Then the outlook like,


