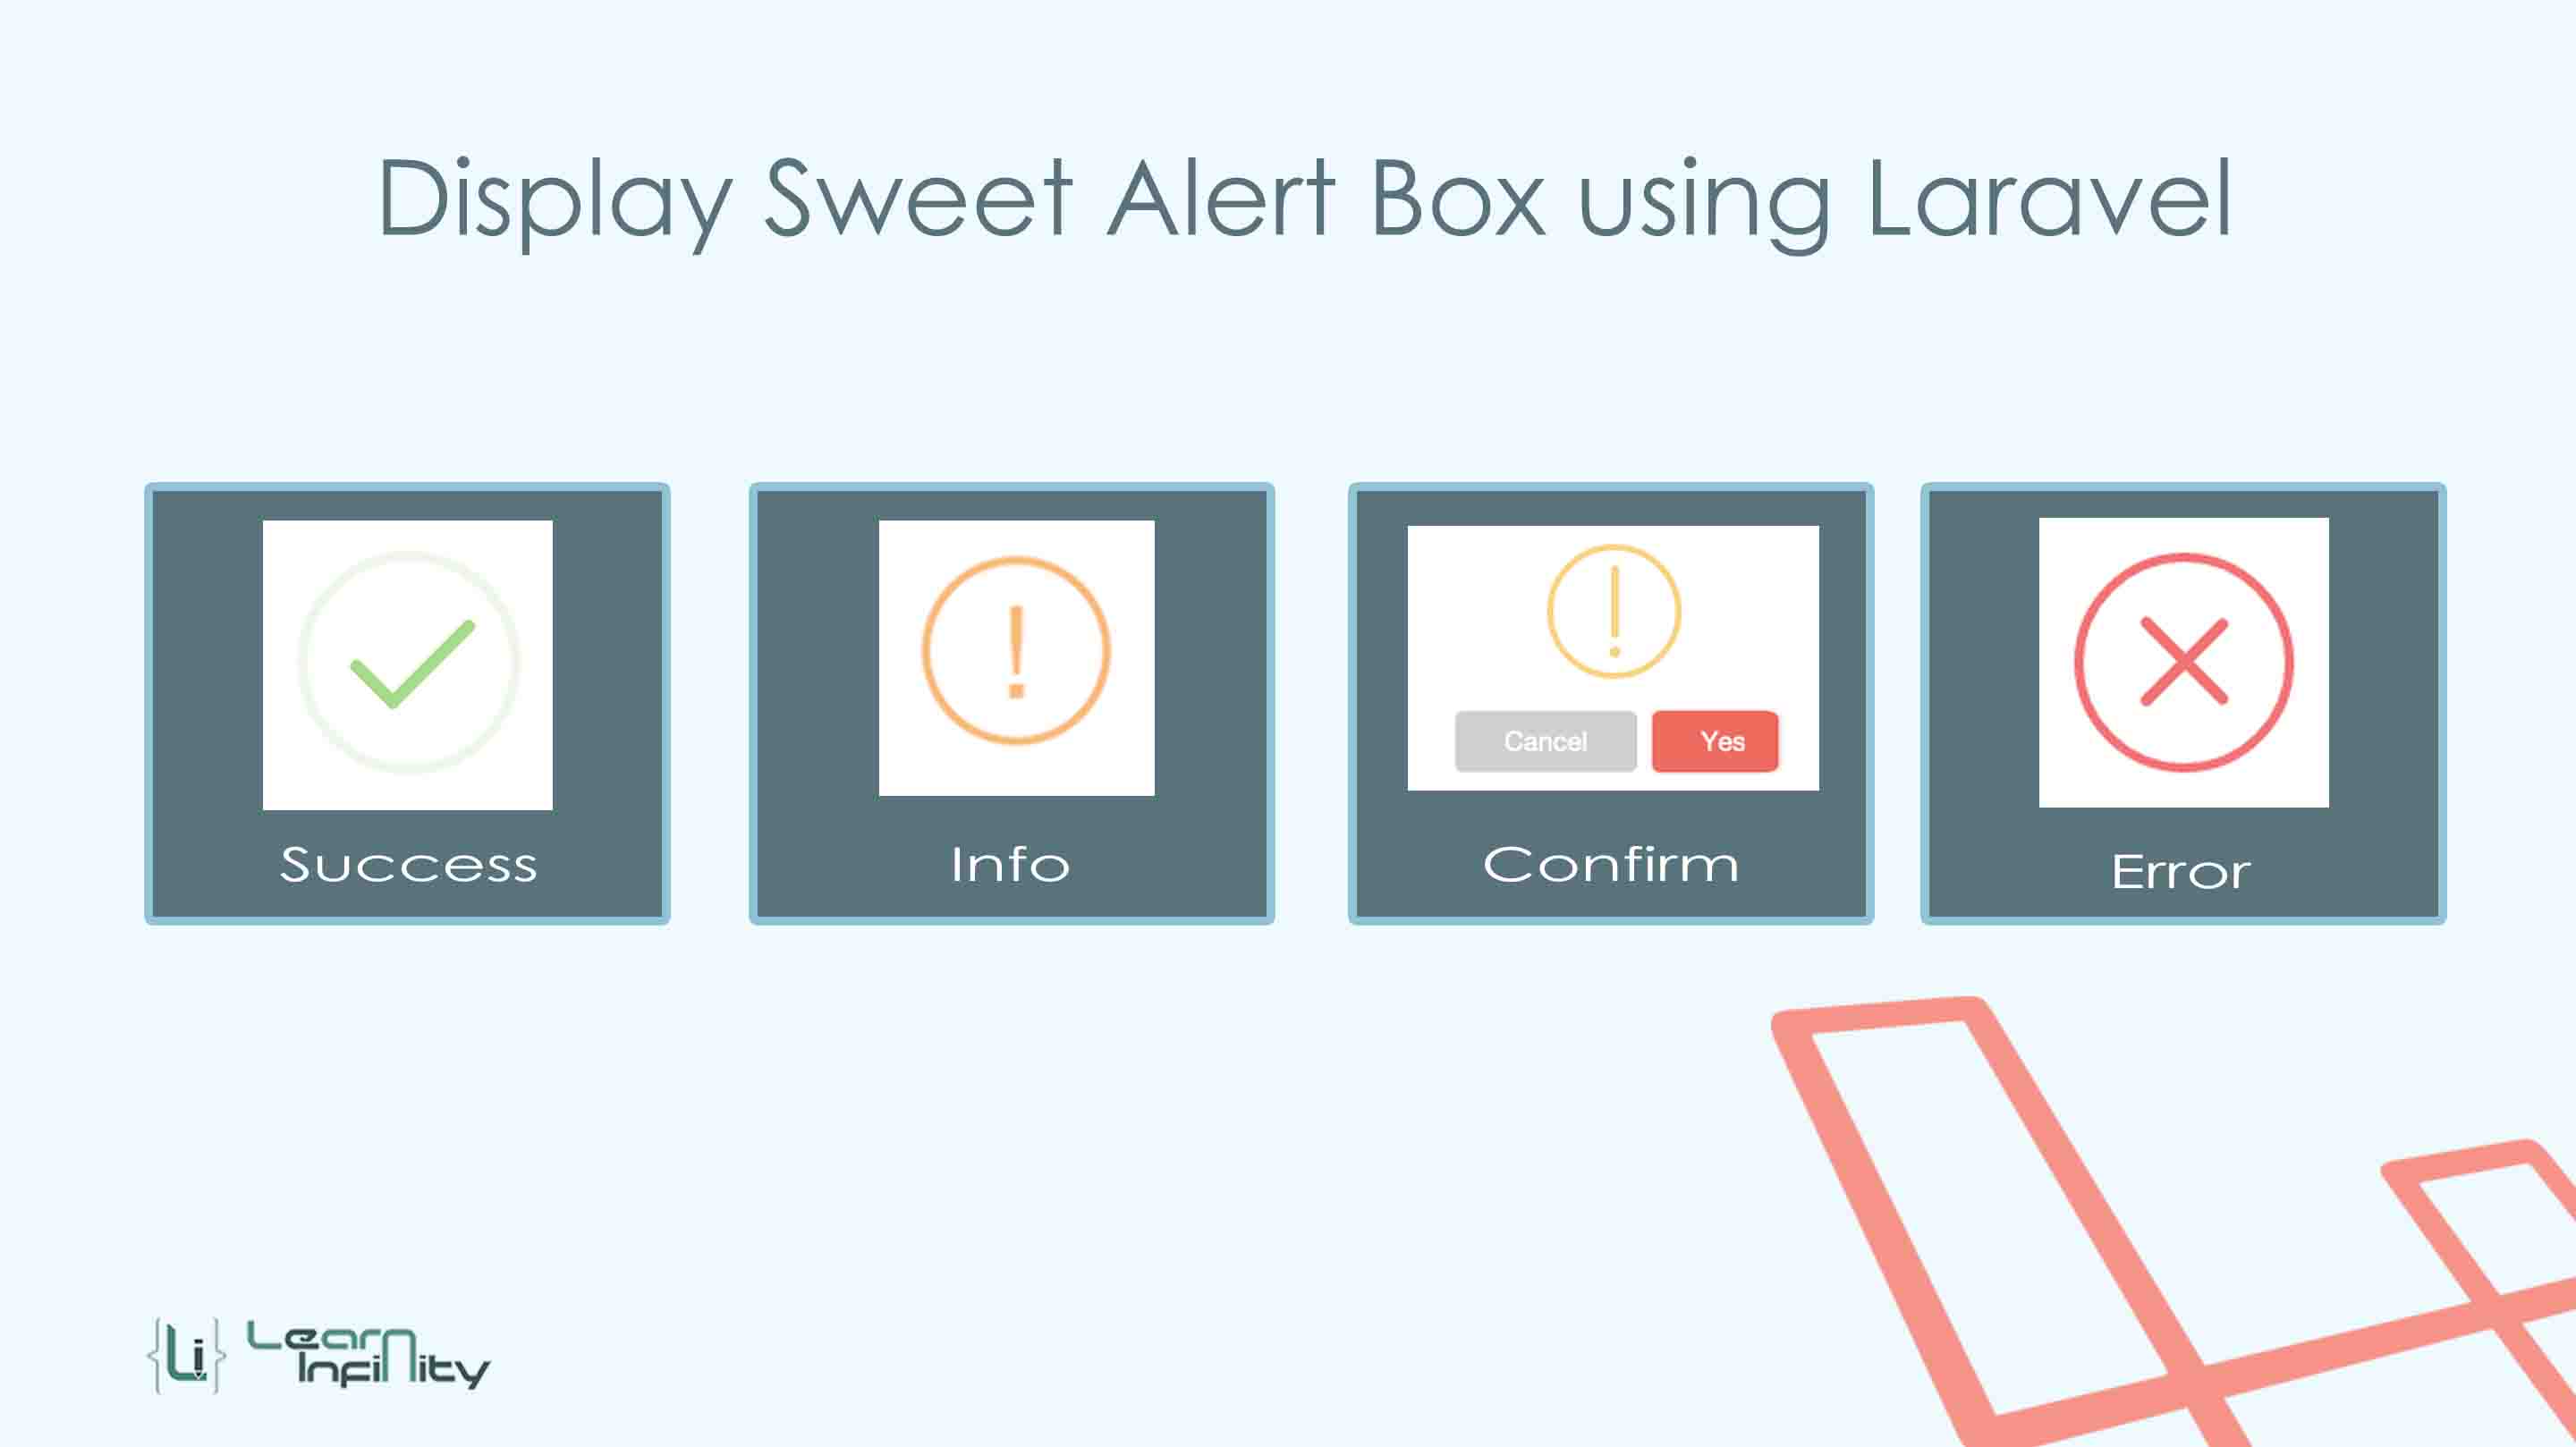
In this post, we are going to learn to show notify information with an excellent user-friendly look using sweetAlert package in laravel application. Here we are going to use uxweb/sweet-alert package for Display Sweet Alert Notifications in Laravel web application.
SweetAlert Notifications is easy to use a jQuery library and using it we can show pretty notification messages. SweetAlert gives excellent design and an excellent style to open box with a message and we can also use this kind of alerts for successful transactions, warning messages, user information, request confirmation before the process.
Step 1: Install Package
In this step, we need to download and extract uxweb/sweet-alert package using composer. Simply add the package name with version details in a composer.json file and run a composer update command.
|
1 2 3 4 5 |
"require": { ...... ...... "uxweb/sweet-alert": "~1.4" }, |
and, run the following command
|
1 |
composer update |
Step 2: Update provider and alias details
After successfully extract the package, Goto config/app.php file and append service provider and alias details with specific classes.
|
1 2 3 4 5 6 7 8 9 10 |
'providers' => [ .... .... UxWeb\SweetAlert\SweetAlertServiceProvider::class, ], 'aliases' => [ .... .... 'Alert' => UxWeb\SweetAlert\SweetAlert::class, ] |
Step 3: Controller with Function details
In this area, we will create a controller with a name of SweetAlertDemo add namespace with a required method. Here alert() method for passing notification information to view page.
|
1 2 3 4 5 6 7 8 9 10 11 12 13 14 15 16 17 18 19 20 21 22 23 24 25 26 27 28 29 30 31 32 33 34 35 36 37 38 39 40 41 42 43 44 45 46 47 48 49 |
<?php namespace App\Http\Controllers; use Illuminate\Http\Request; use App\Http\Requests; use Alert; class SweetAlertDemo extends Controller { public function index($alertType = null){ switch ($alertType) { case 'info': Alert::info('Welcome', 'Demo info alert'); break; case 'success': Alert::success('Welcome', 'Demo success alert'); break; case 'error': Alert::error('Welcome', 'Demo error alert'); break; case 'warning': Alert::warning('Welcome', 'Demo warning alert'); break; case 'success_autoclose': Alert::success('Welcome', 'Demo success alert')->autoclose(3500); break; case 'confirmation': Alert::success('Welcome', 'Demo success alert')->persistent("Ok");; break; default: Alert::message('Robots are working!'); break; } return view('SweetAlertDemo'); } } |
Step 4: Define Route
In this step, we are going to add a route for demo with an Notifications alert type argument into routes file and add the following route.
|
1 |
Route::get('/SweetAlert/{alertType?}', ['as'=>'SweetAlert','uses'=>'SweetAlertDemo@index']); |
Step 5: View page details
In final, we need to create blade view file and include a sweetAlert jQuery and CSS library detail with notifying methods.
|
1 2 3 |
<link rel="stylesheet" href="https://cdnjs.cloudflare.com/ajax/libs/sweetalert/1.1.3/sweetalert.min.css" > <script src="https://cdnjs.cloudflare.com/ajax/libs/sweetalert/1.1.3/sweetalert.min.js"></script> |
and blade view page as given below,
|
1 2 3 4 5 6 7 8 9 10 11 12 13 14 15 16 17 18 19 20 21 22 23 |
@extends('layouts.app') @section('content') <style type="text/css"> h3.center-text { text-align: center; } </style> <div class="container"> <h3 class="center-text">Sweet Alert using Laravel - Learn Infinity</h3> <div class="row"> <div class="col-md-offset-2 col-md-8"> @include('sweet::alert') </div> </div> </div> @endsection |


